Création d'un Projet LiDAR
1. Description
Aether permet de gérer facilement vos données de nuages de points LiDAR. Voyons comment créer un projet LiDAR à partir de zéro.
2. Fichiers d’entrée
3. Workflow
3.1 Création d’un projet
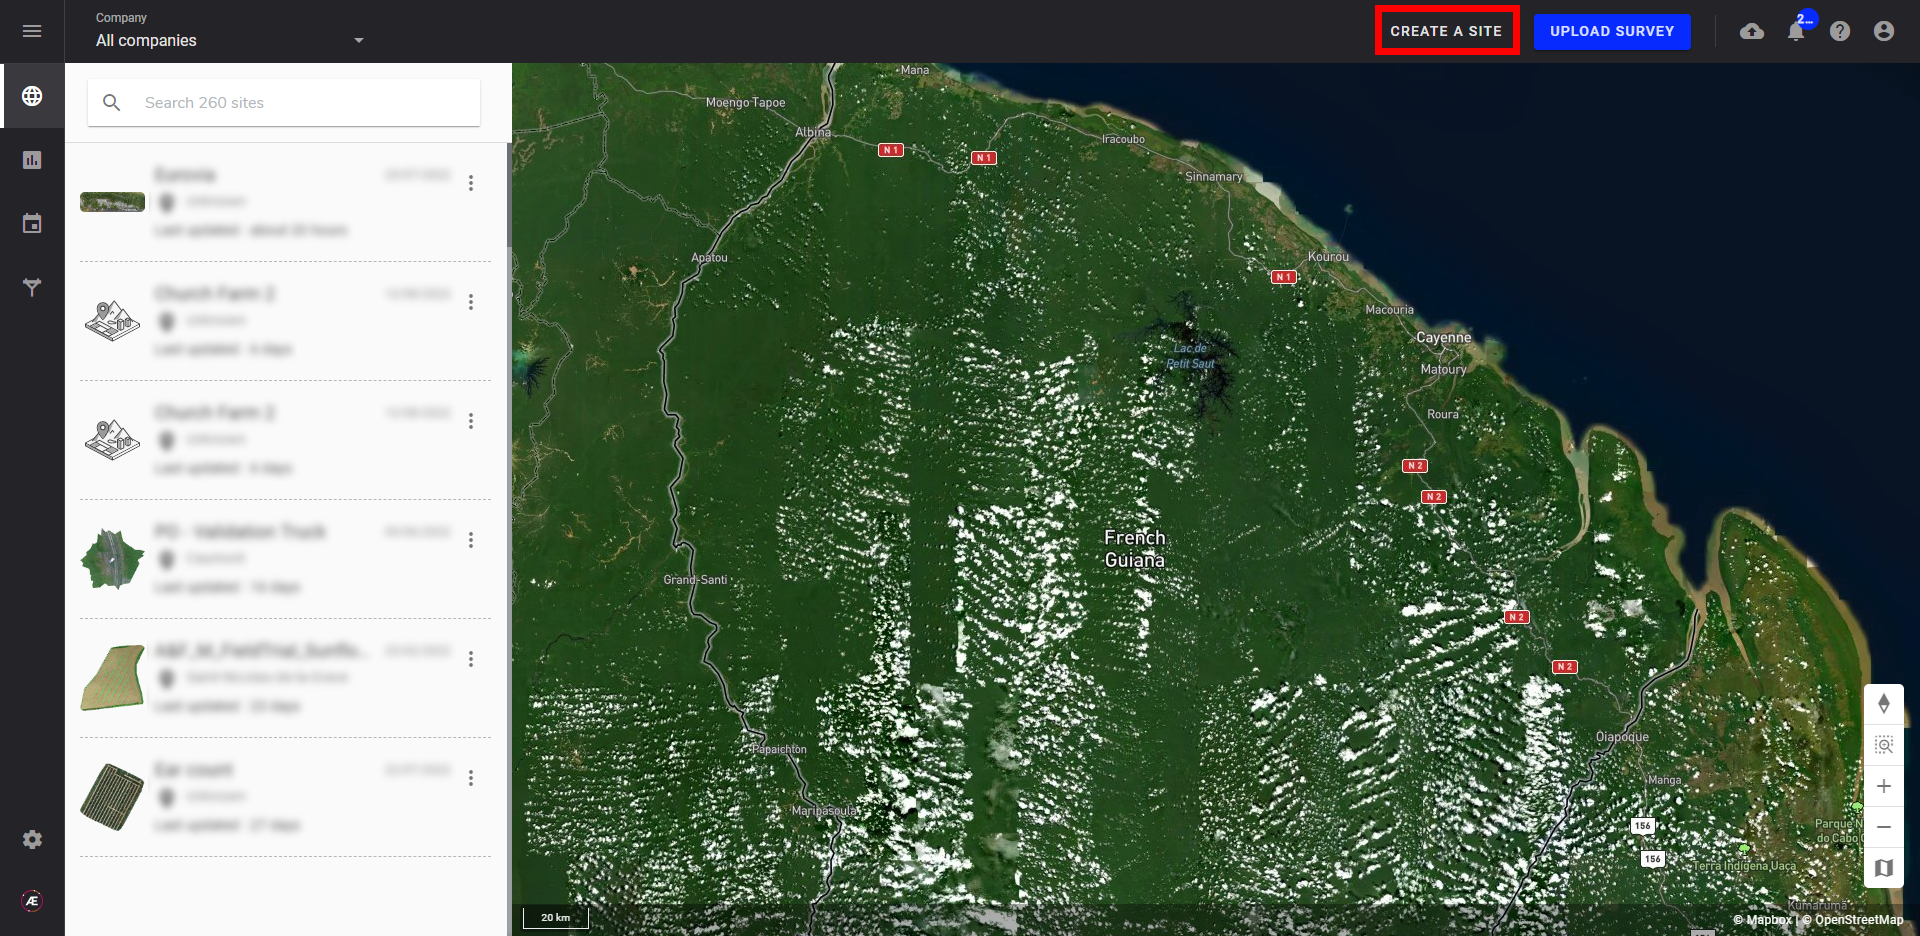
Étape 1 - Sélectionnez "CREATE A PROJECT" dans le coin supérieur droit de la page d'accueil.
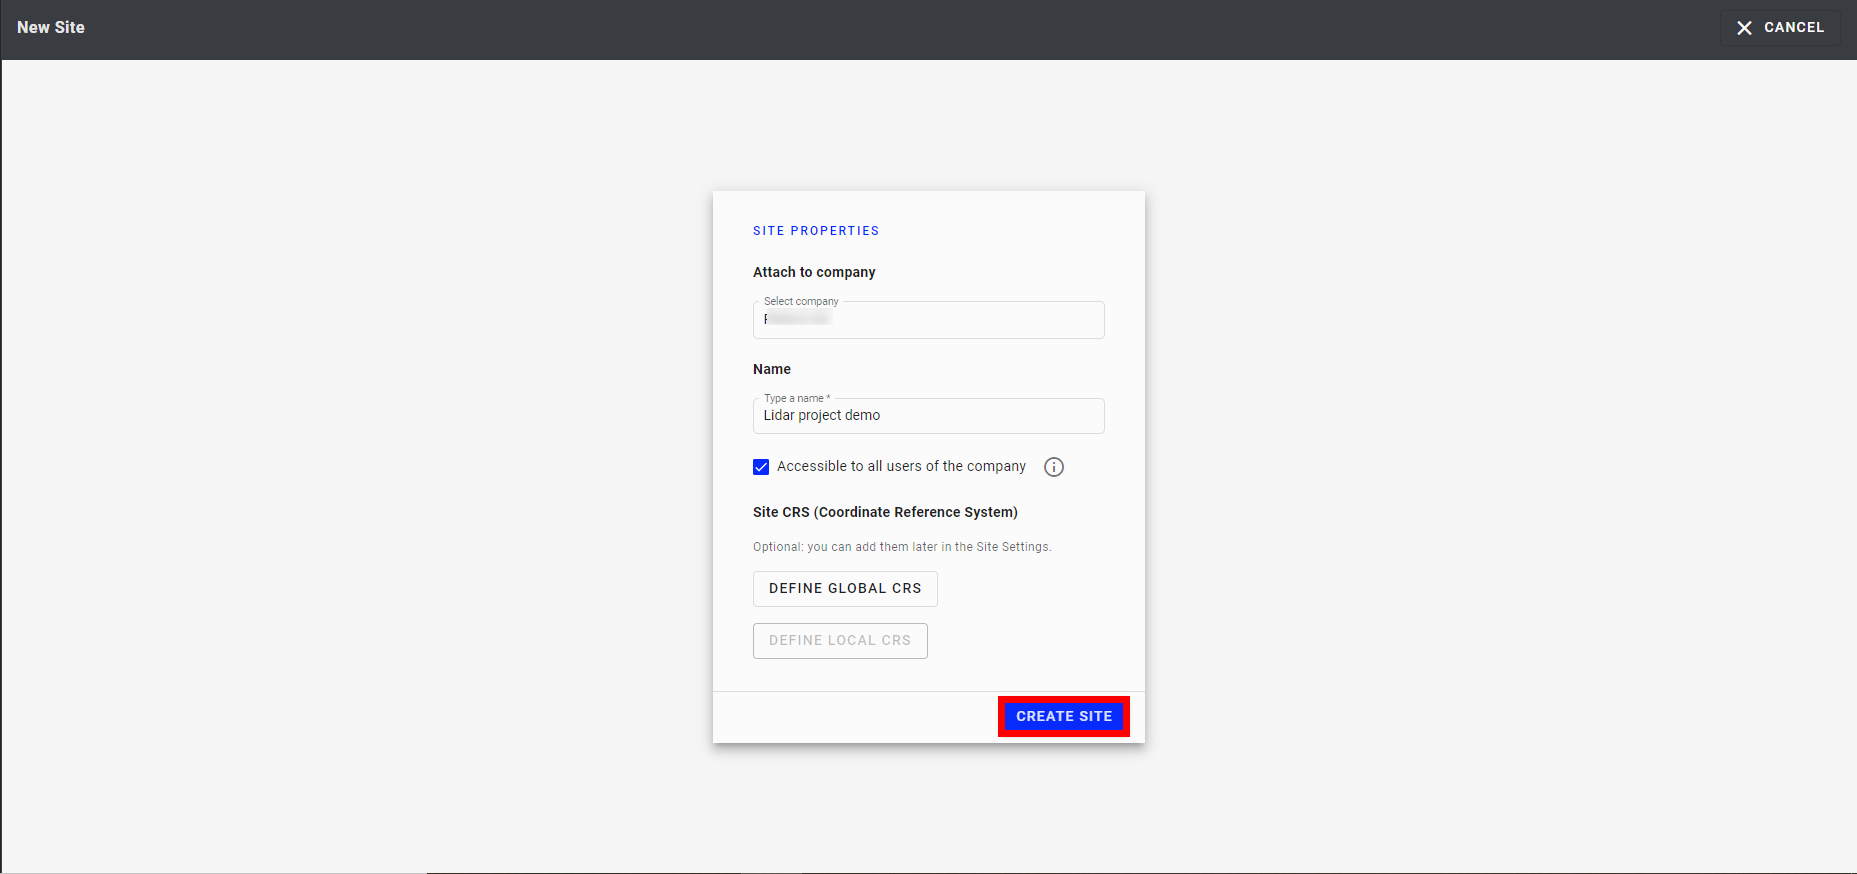
Étape 2 - Complétez les informations relatives au nouveau projet, voir Création d'un Projet .
Info
Si vous gérez plusieurs organisations, sélectionnez celle dans laquelle vous souhaitez créer le nouveau projet, définissez un nom de projet, cochez la case si vous souhaitez rendre le projet accessible à tous les utilisateurs, et définissez un CRS de projet(cette étape peut également être définie ultérieurement).
Étape 3 - Sélectionnez "CREATE A PROJECT".
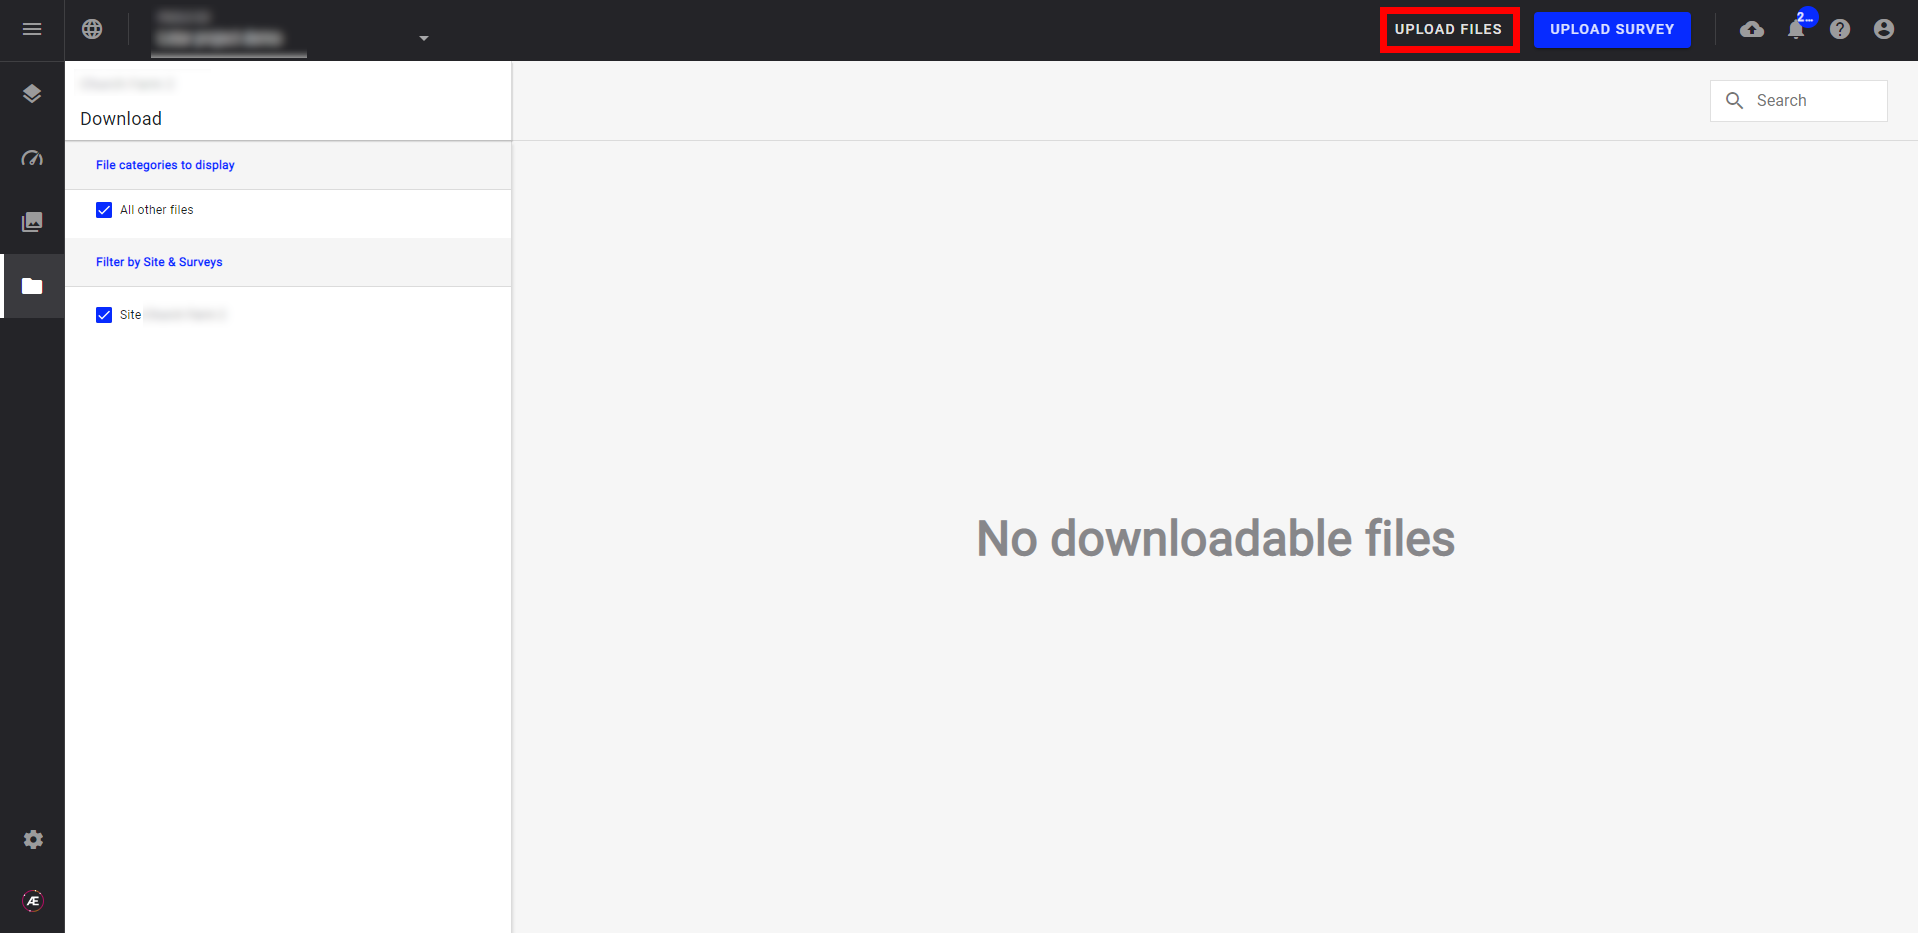
Étape 4 - Sélectionnez "IMPORTER UN FICHIER".
Étape 5 - Téléchargez un fichier vectoriel.
Info
Le fichier que vous choisissez doit être un fichier vectoriel montrant la zone/corridor dans laquelle vous voulez vous concentrer pour votre projet LiDAR (par exemple, un fichier .kml).
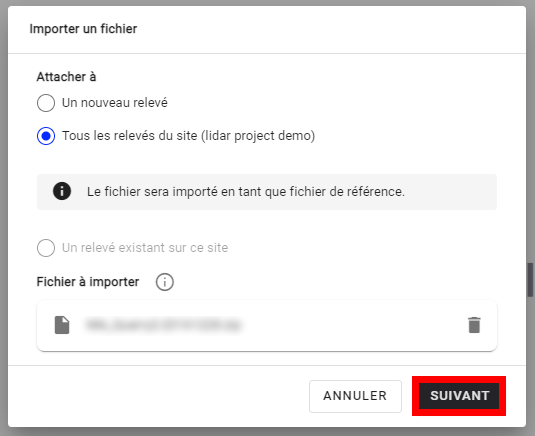
Étape 6 - Veillez à sélectionner le bouton radio "All surveys of this projet". Ensuite, cliquez sur "SUIVANT".
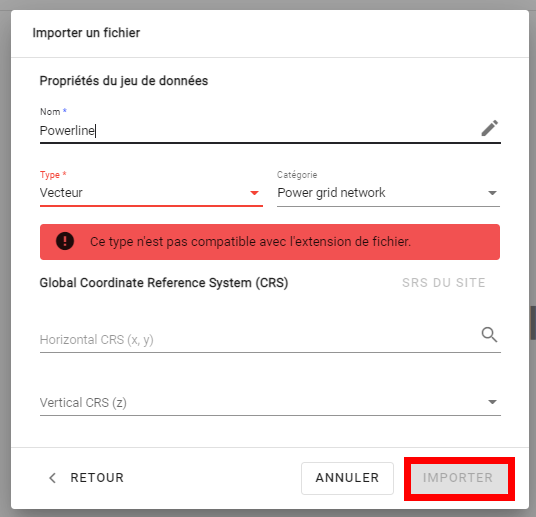
Étape 7 - Remplissez les informations requises. Puis cliquez sur "IMPORTER".
Informations requises:
- Nommez le fichier (ici pour l'exemple: "Powerline")
- Type de fichier
- Catégorie
- Systèmes de référence de coordonnées (CRS)
Étape 8 - Une fois le téléchargement terminé, le fichier est visible dans la section des téléchargements.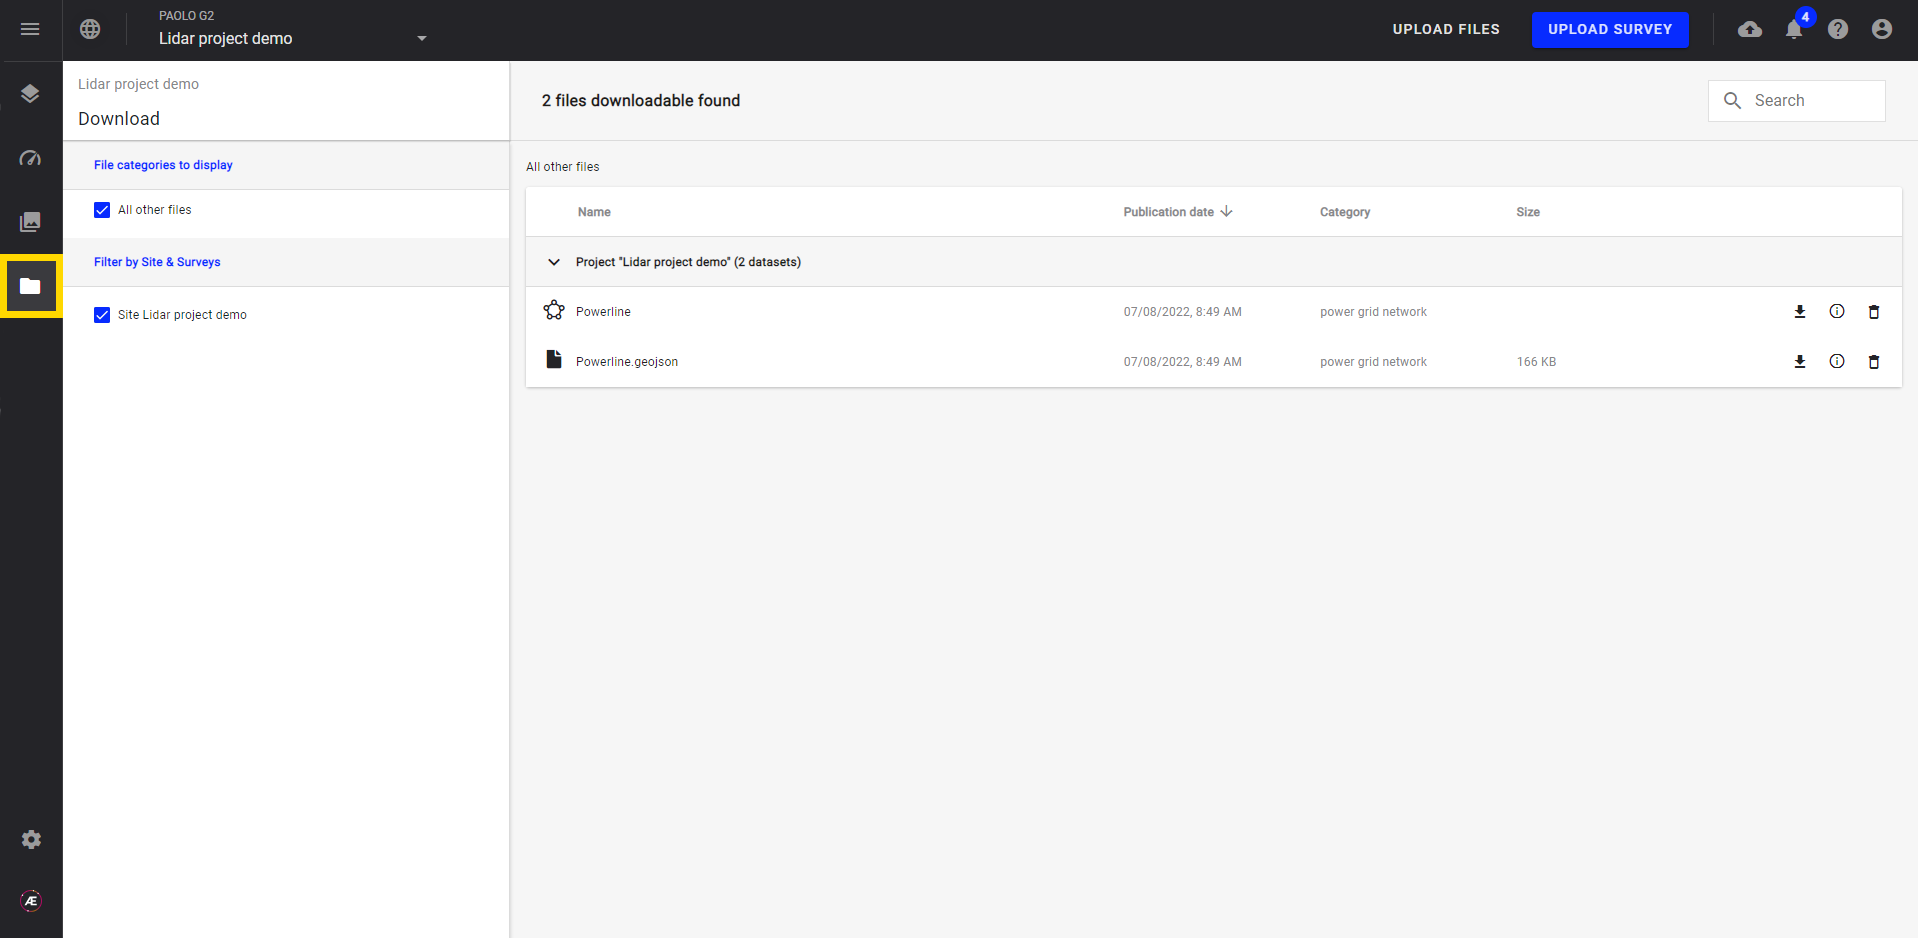
Étape 9 - Le même fichier devient également visible dans la section des calques.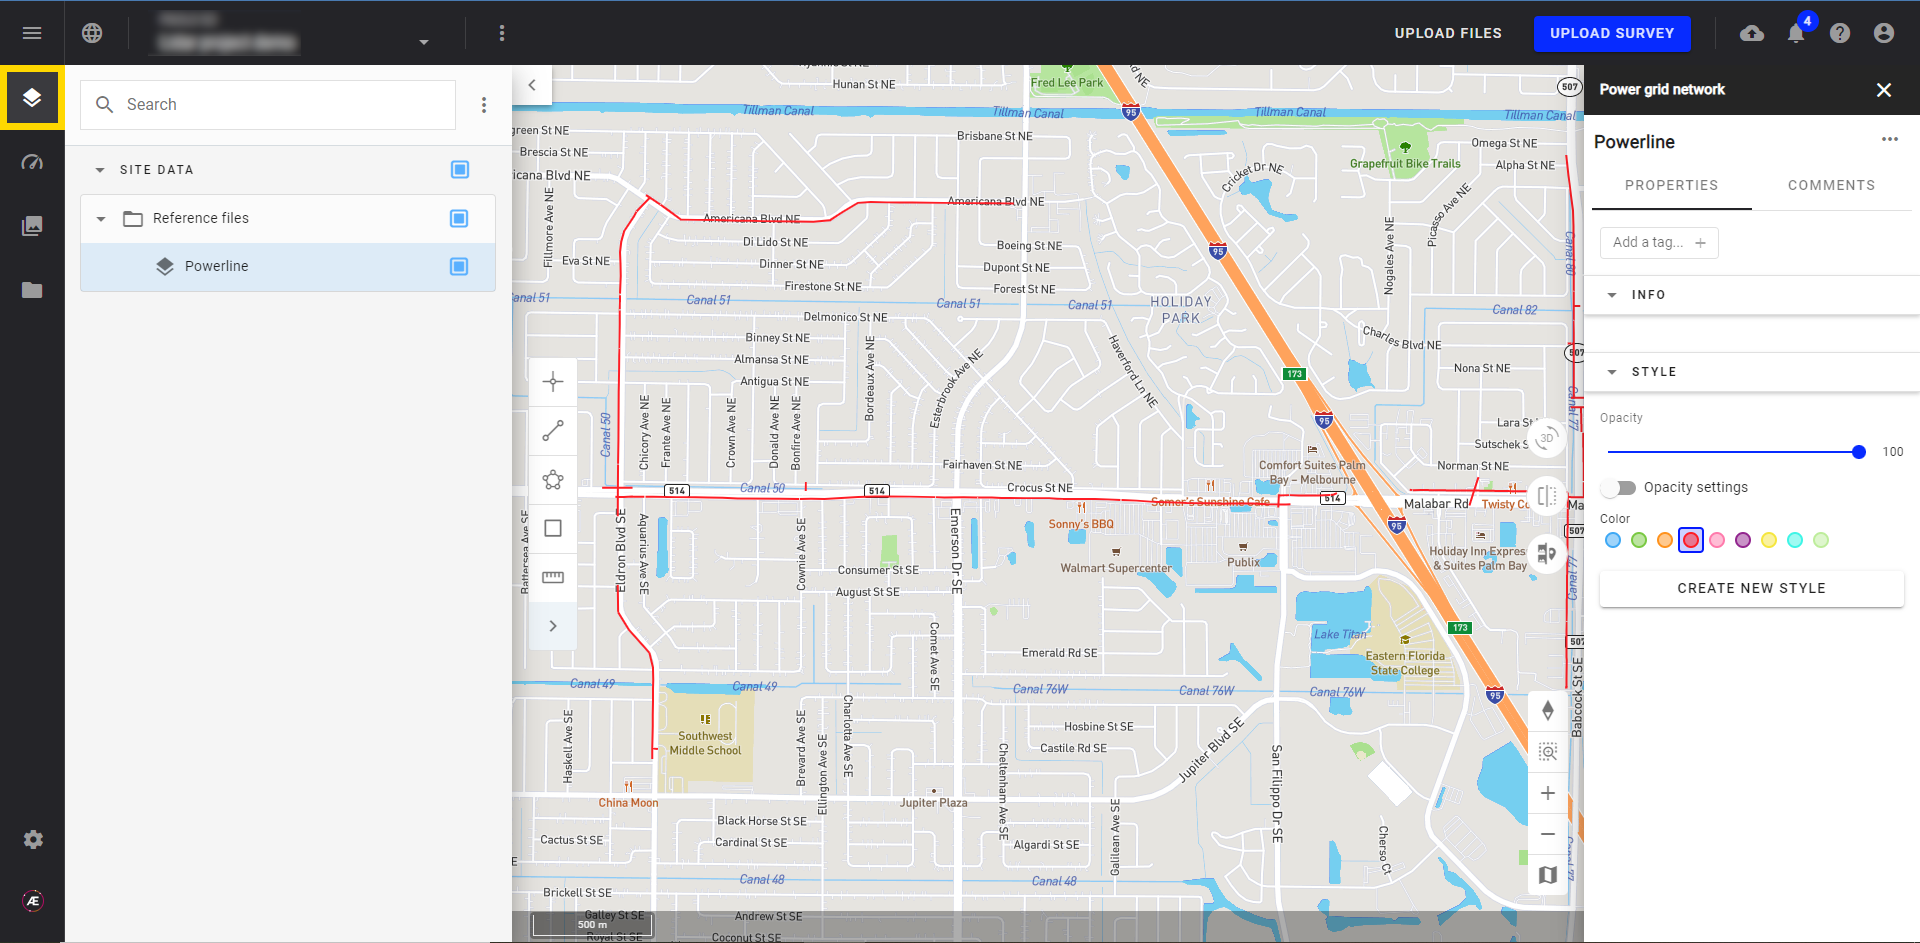
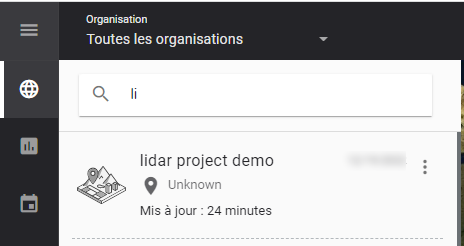
Étape 10 - Pour vérifier qu'il est visible dans la liste des projets, quittez le projet et recherchez-le dans la barre de recherche.
3.2 Création d'un relevé Lidar
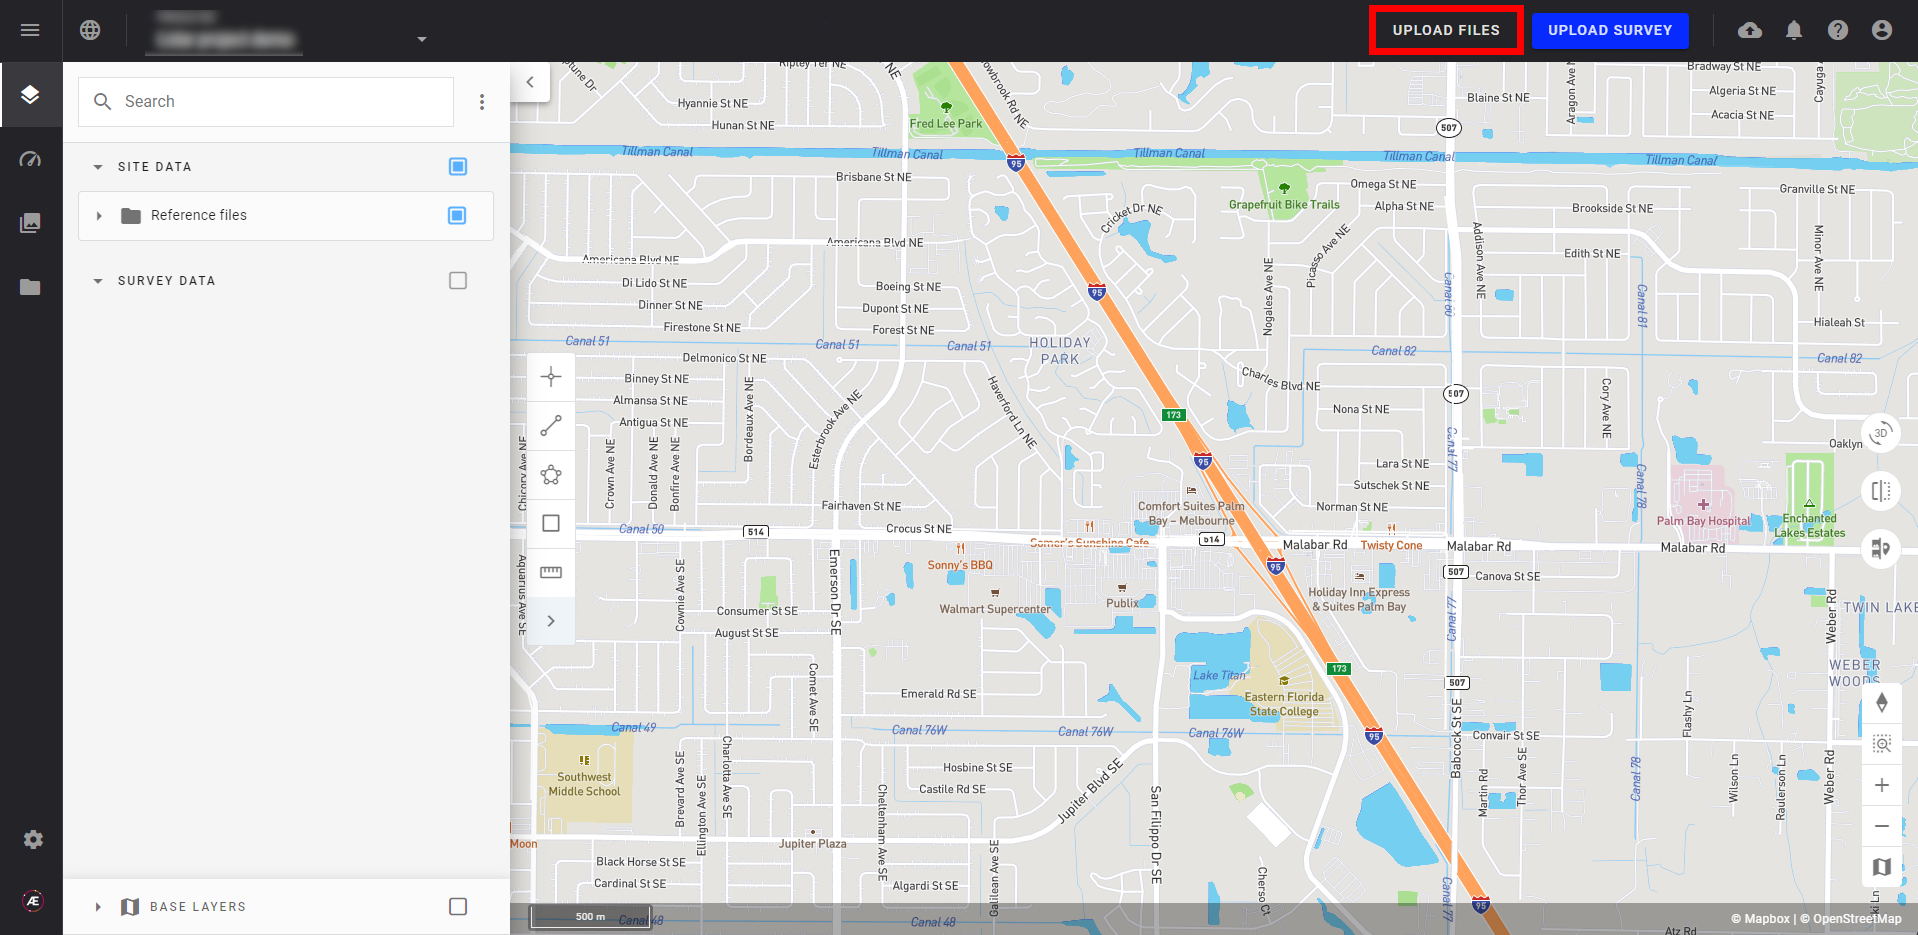
Étape 1 - Sélectionnez “UPLOAD FILES”.
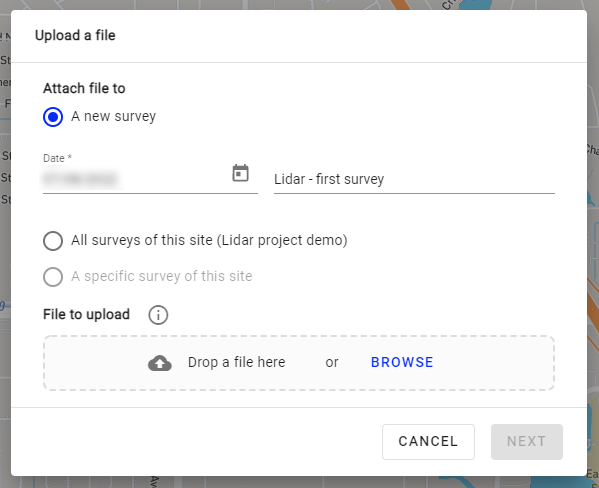
Étape 2 - Une nouvelle fenêtre "Upload a file" s'ouvre. Sélectionnez "A new survey" sous "Attach file to".
Étape 3 - Remplissez les informations:
- Date du survey/relevé
- Nom du survey/relevé
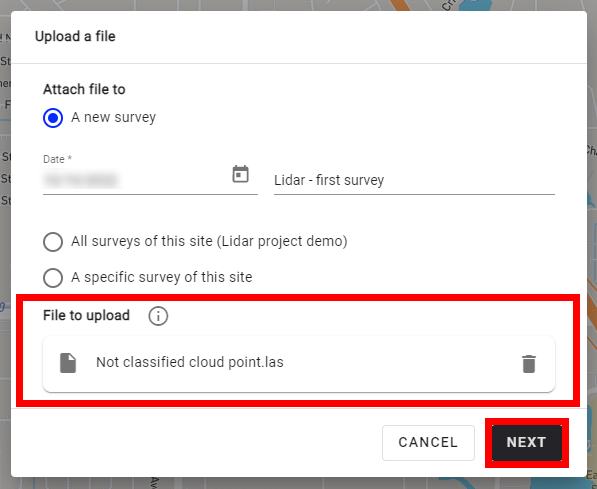
Étape 4 - Glissez et déposez ou recherchez le fichier de nuage de points (.las) dans la zone de téléchargement. Ensuite, cliquez sur "NEXT".
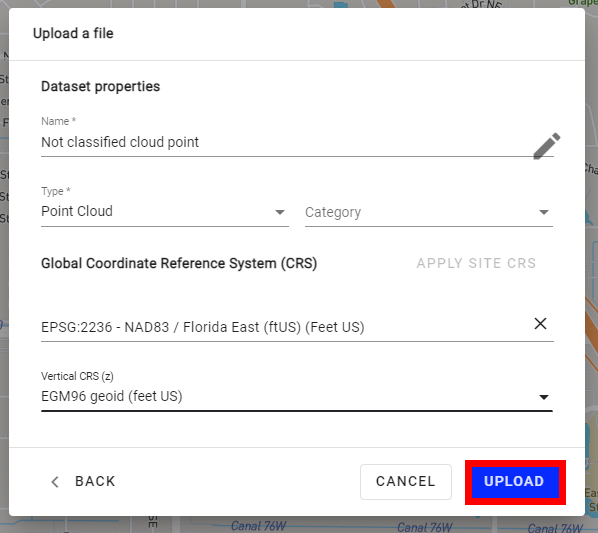
Étape 5 - Remplissez les informations sur le fichier et cliquez sur "UPLOAD".
Dans la section "Dataset properties":
- Nom
- Type ("Point Cloud")
- Catégorie (peut être laissée vide)
- Sélectionnez le CRS correspondant
Info
Un avertissement apparaît, demandant de confirmer le téléchargement, et indiquant que vous ne pouvez pas fermer l'onglet du navigateur avant la fin du téléchargement.
Étape 6 - Lorsque vous êtes prêt à procéder à l'import, sélectionnez "Confirm".
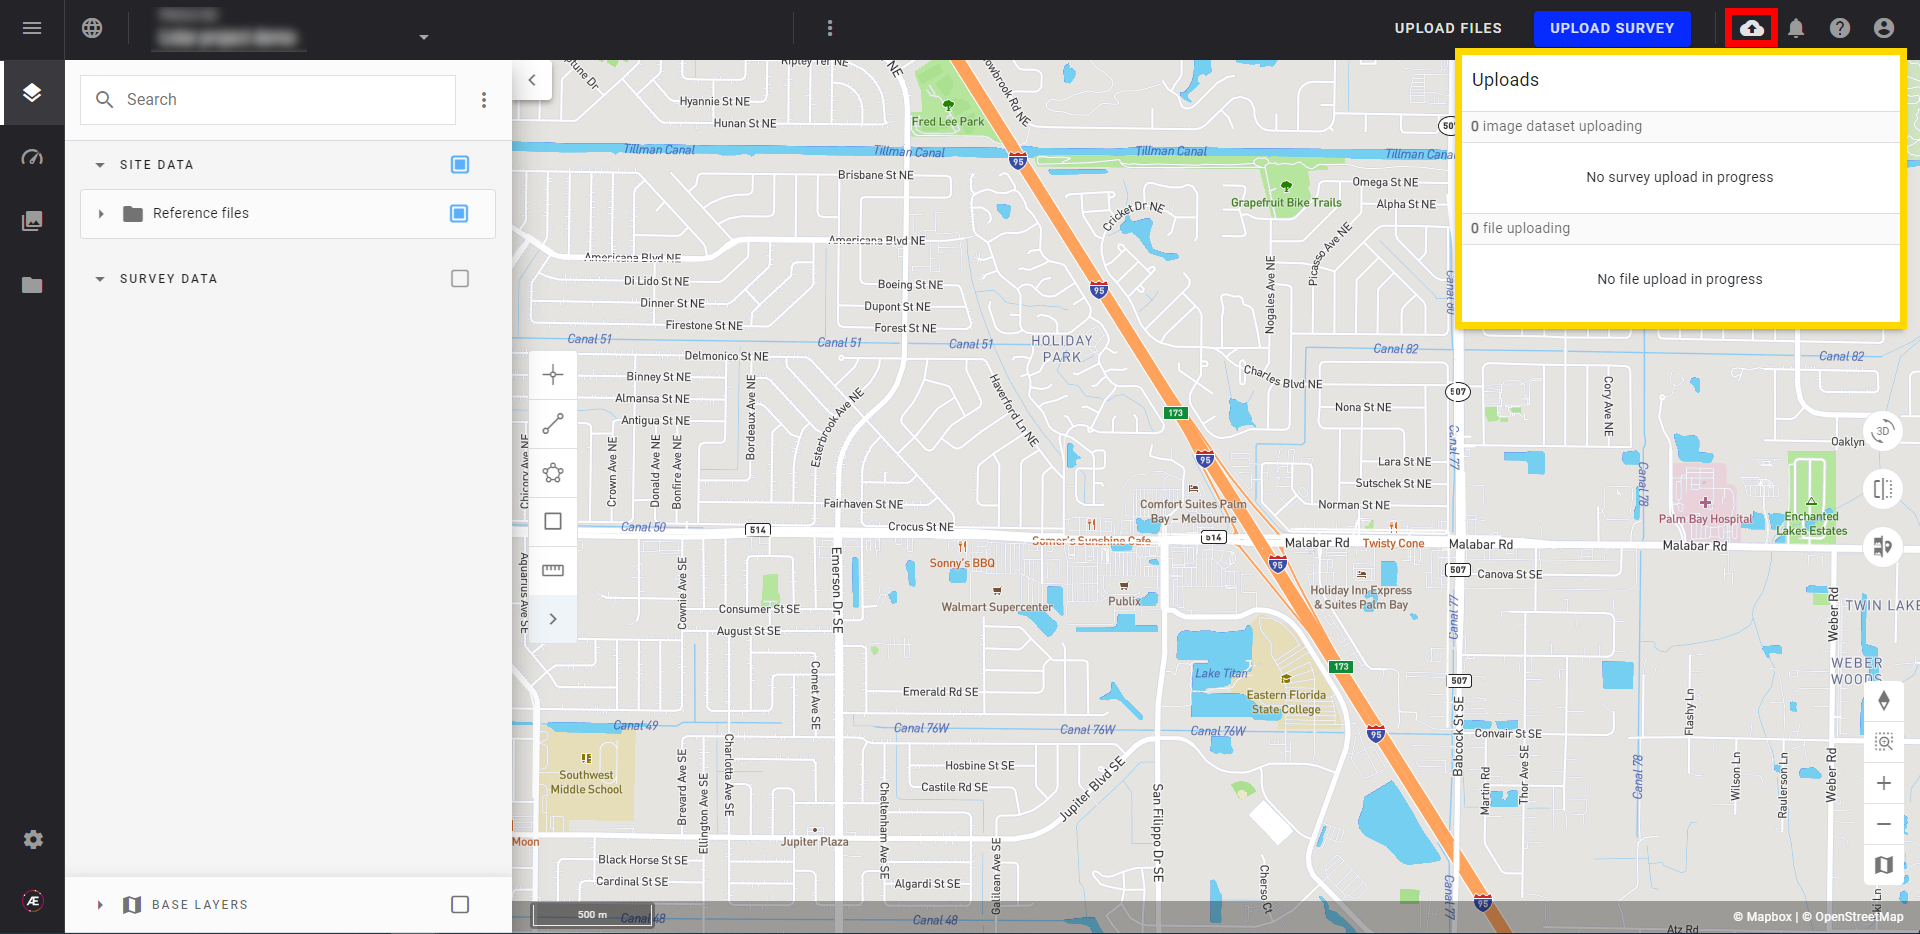
Étape 7 - Pour visualiser la progression du téléchargement, sélectionnez l'icône de nuage en haut à droite de l'écran. La durée de cette étape dépend de la taille du nuage de points et de votre connection à Internet..
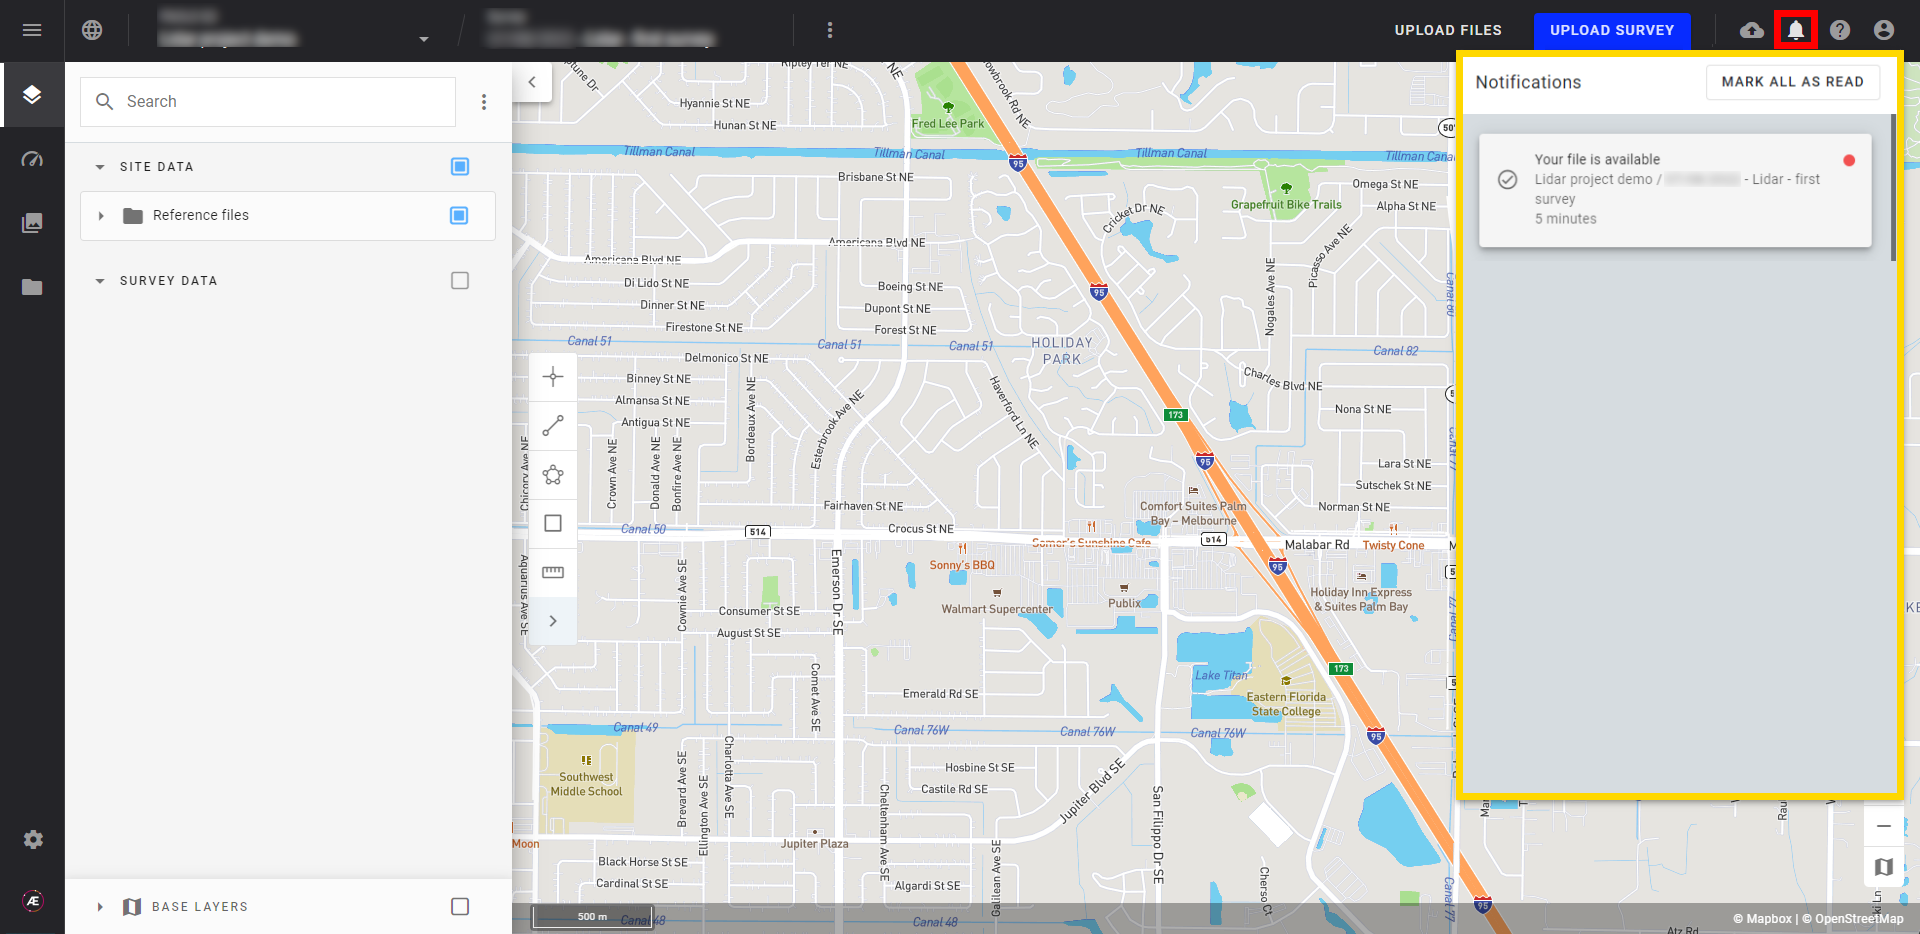
Étape 8 - Une fois terminé, une notification apparaîtra.
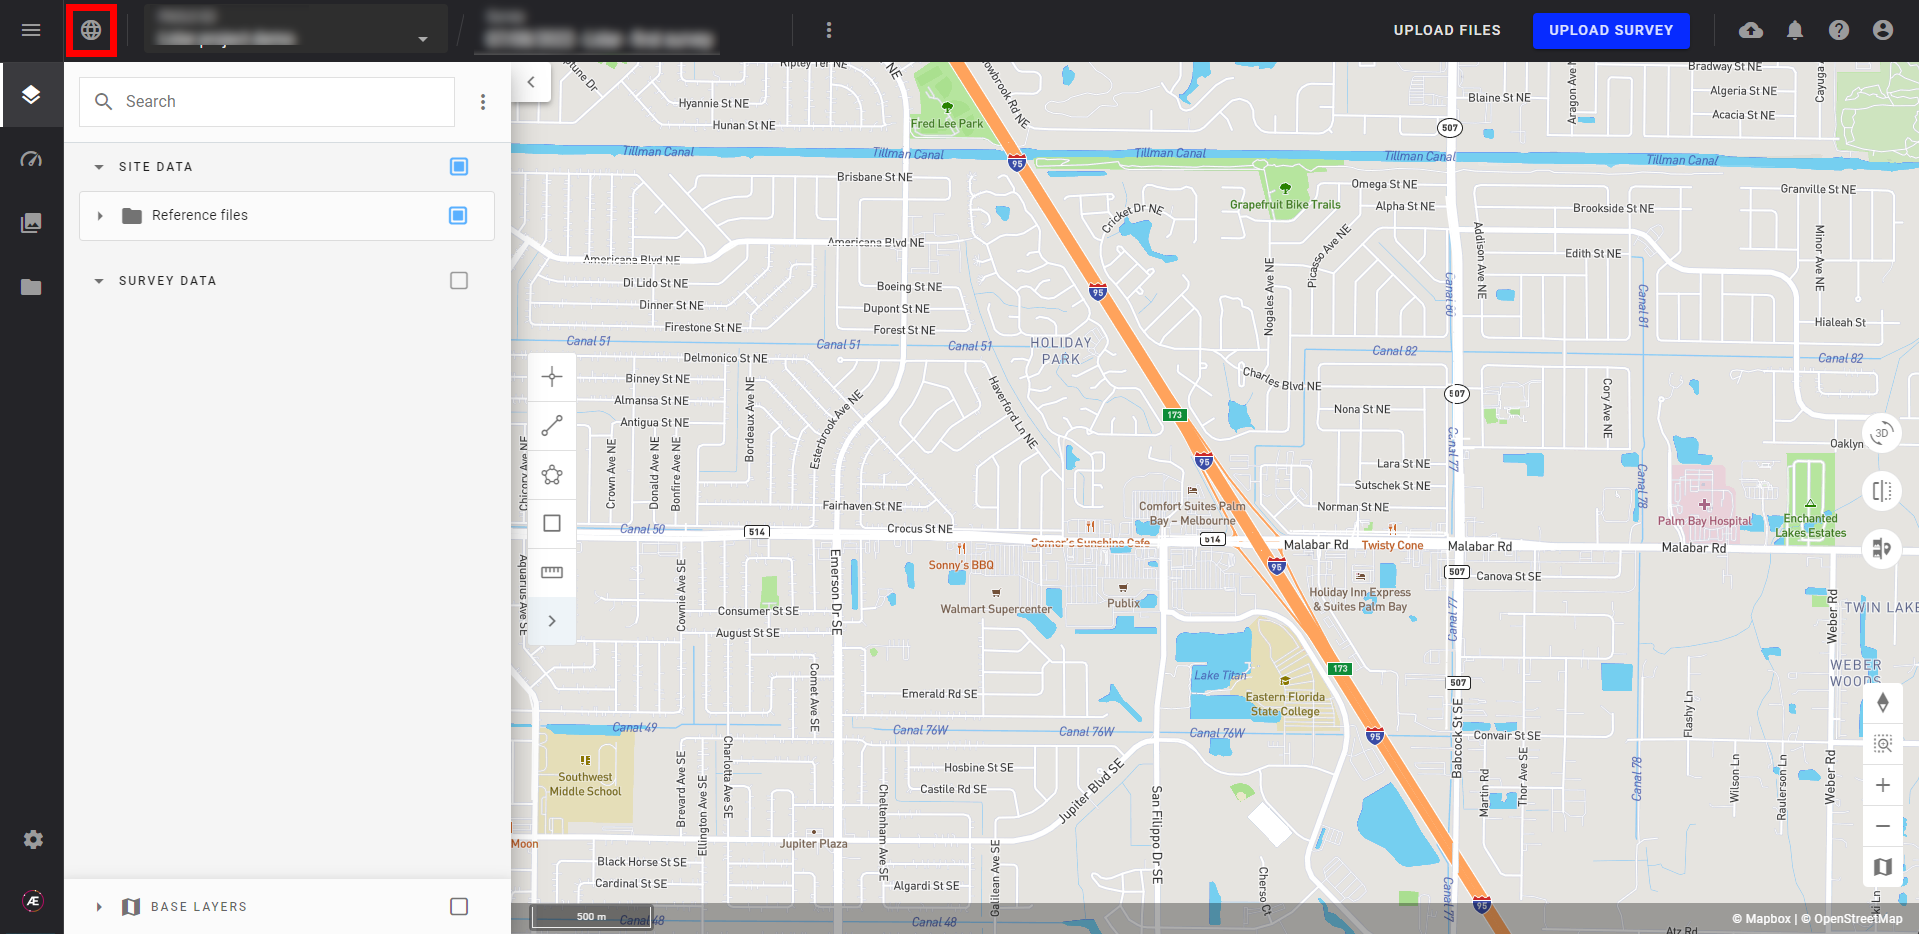
Étape 9 - Une fois que tous les fichiers sont téléchargés, rafraîchissez la page Web en sélectionnant le projet dans le menu d'accueil.
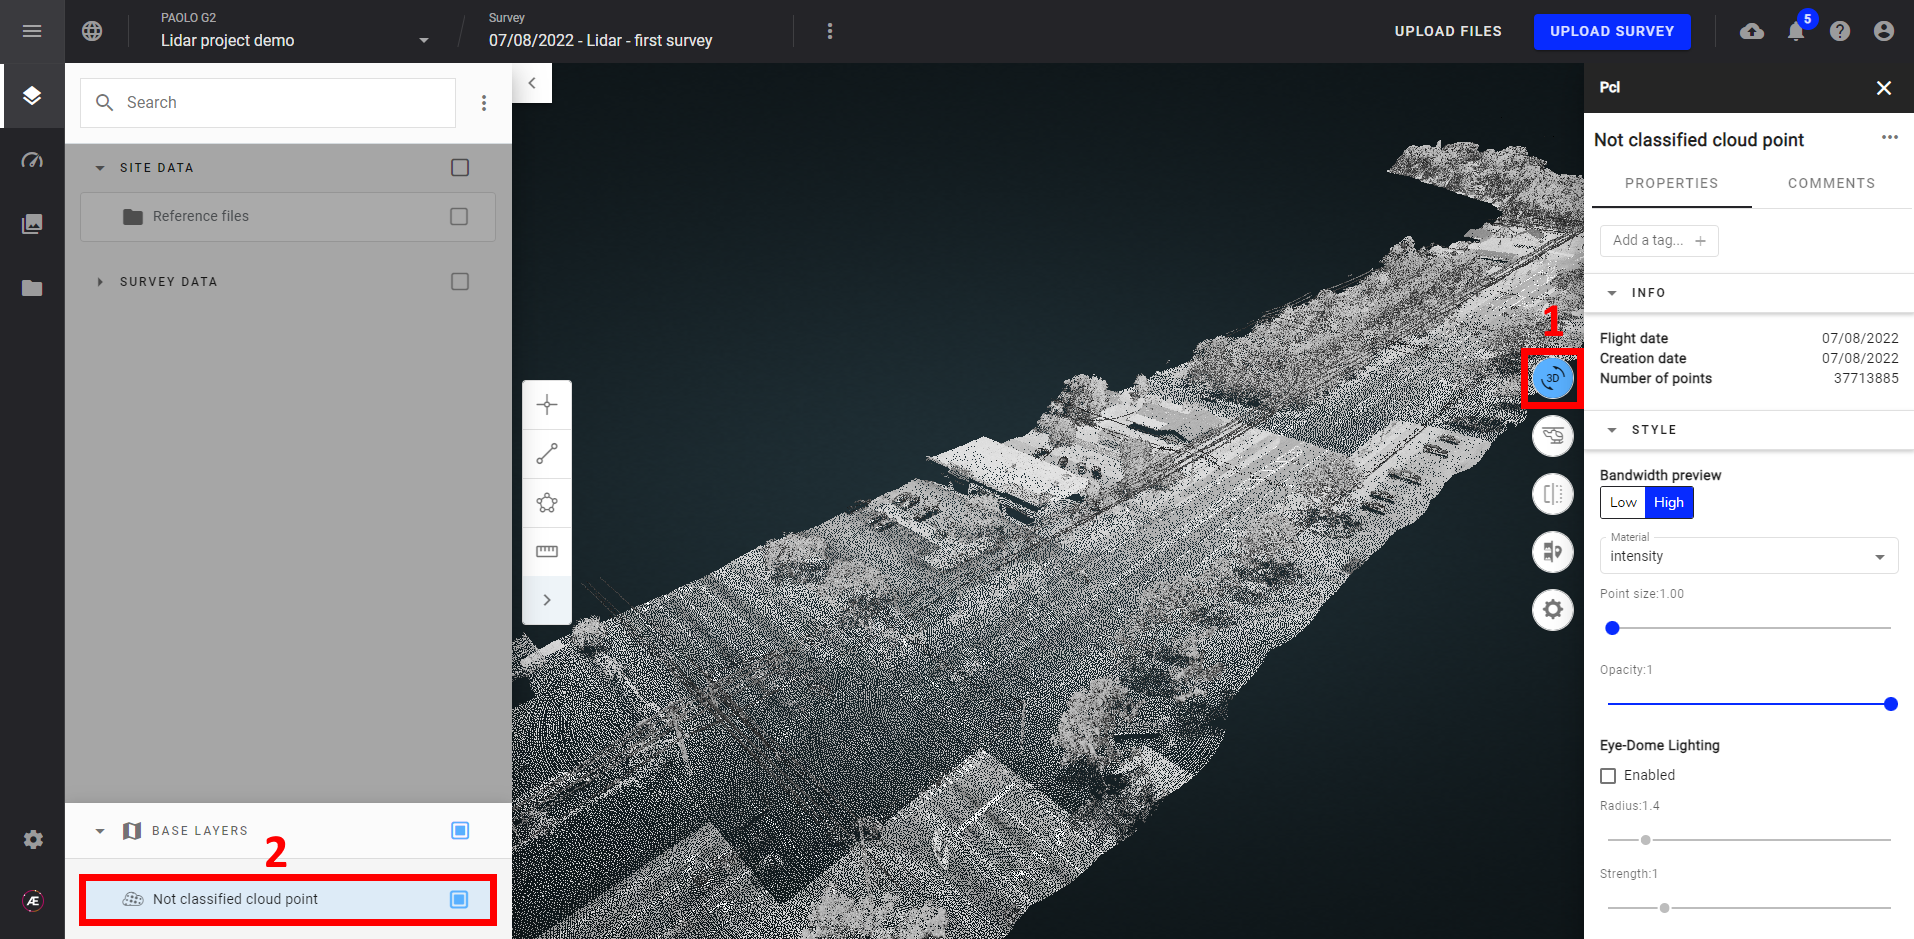
Étape 10 - Sélectionnez la vue 3D dans le panneau des calques pour parcourir votre survey/relevé LiDAR.
