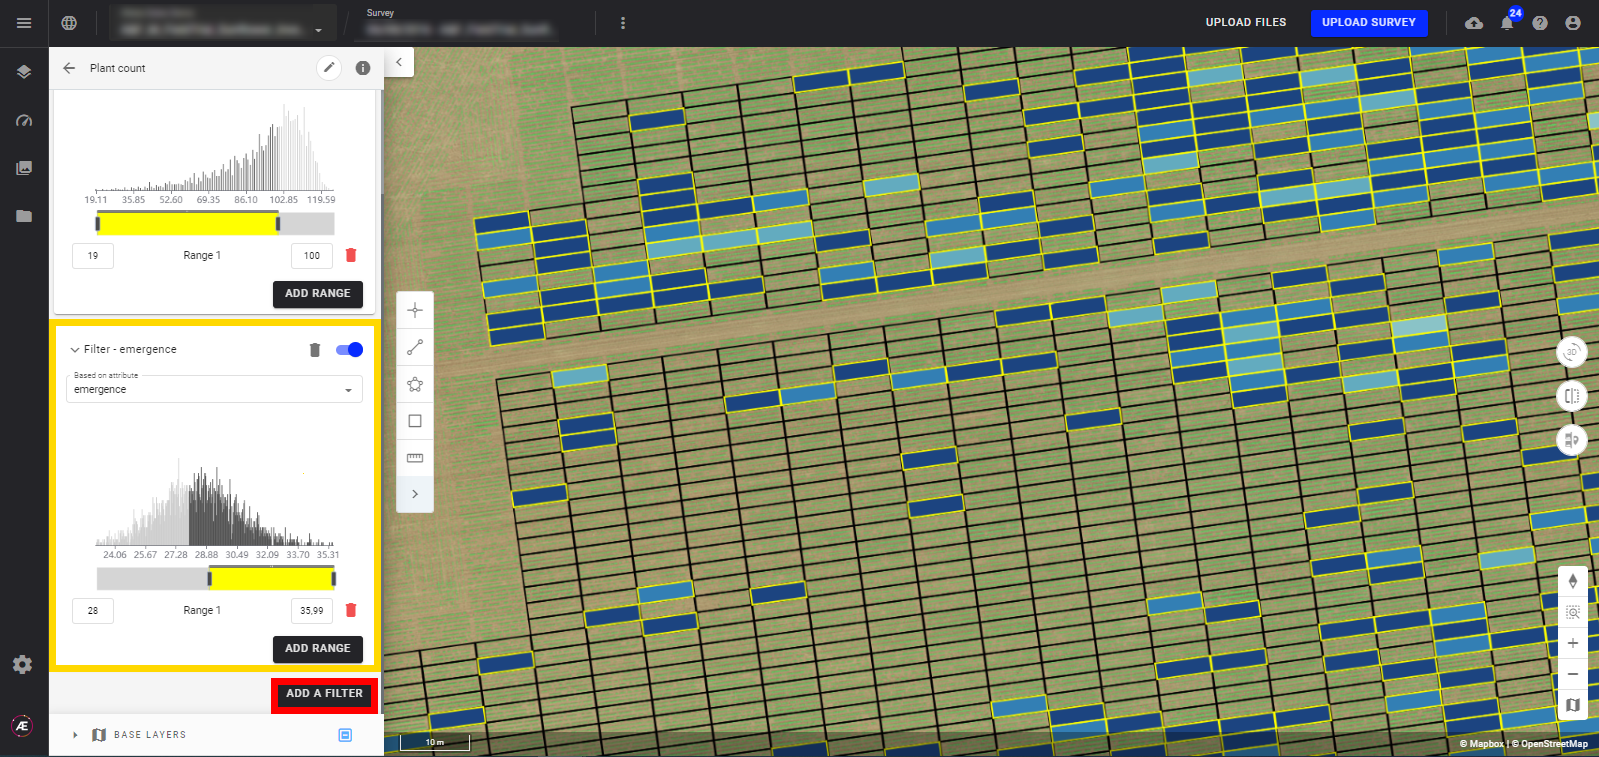
Filter Tools for Vector Files
1. Description
You can apply filters to any vector with numerical or alphanumeric attributes. These filters enable you to visualize only the features of interest on the map. You can apply different filters at once within one single attribute or several attributes and get a more specific visualization.
2. Access to the filter tool
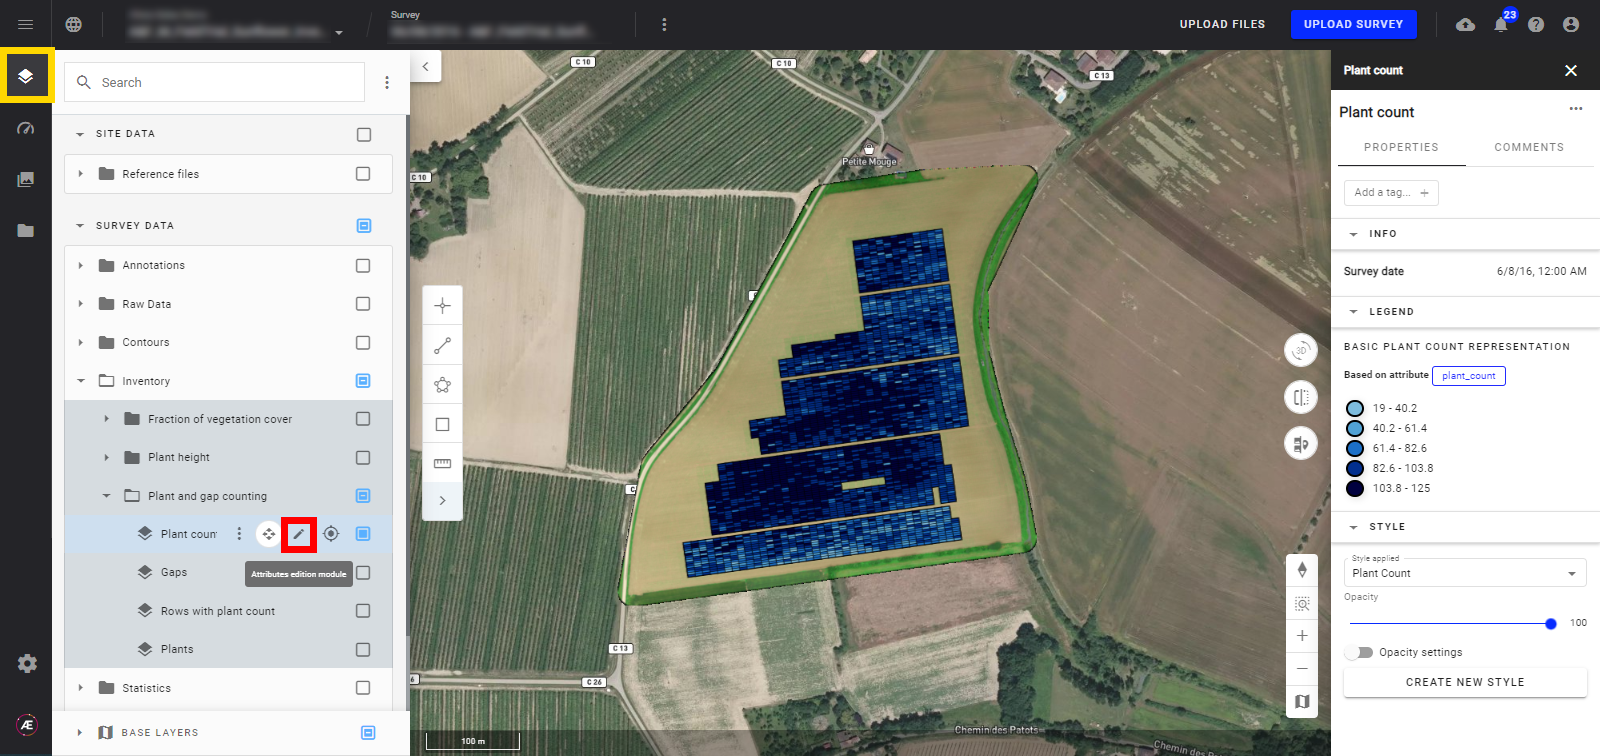
Step 1 - To access the filter tool, display the layer and click on the pencil icon.
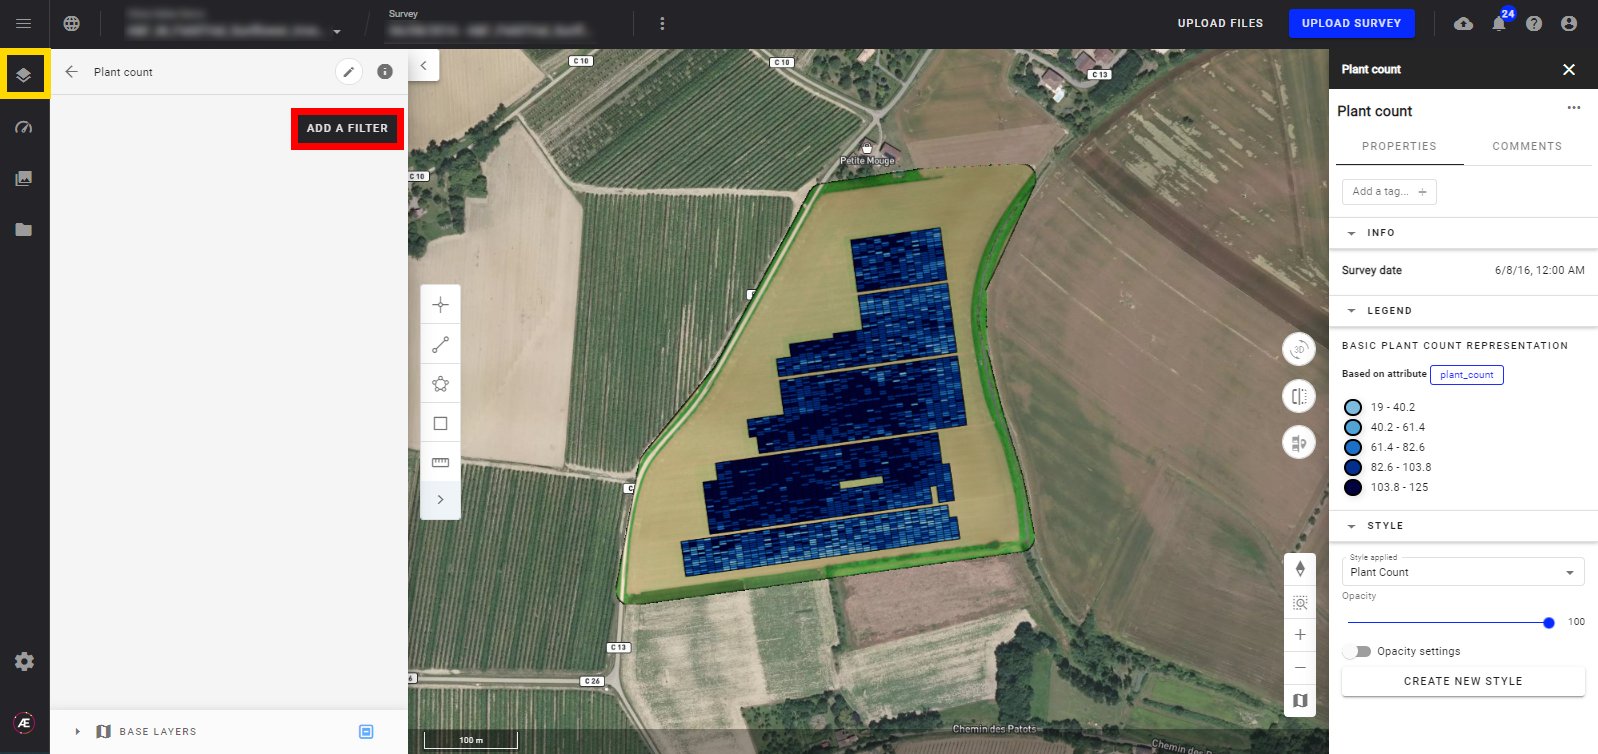
Step 2 - Click on "ADD A FILTER".
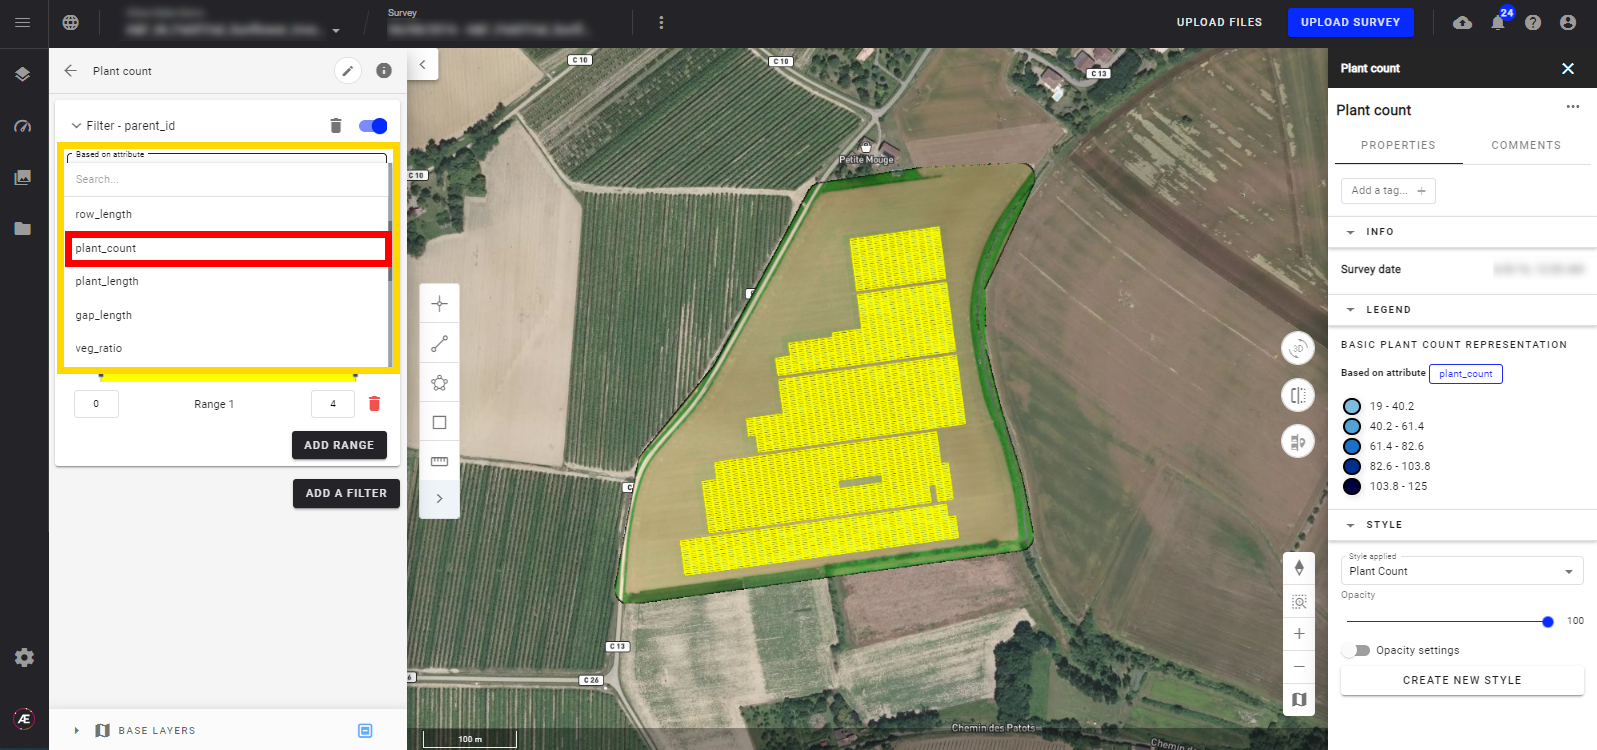
Step 3 - A window including attributes displays. Choose from the drop-down list the attribute you want to filter.
3. Filter on numerical attributes
- For this example, we chose the attribute "plant_count". A histogram will appear.
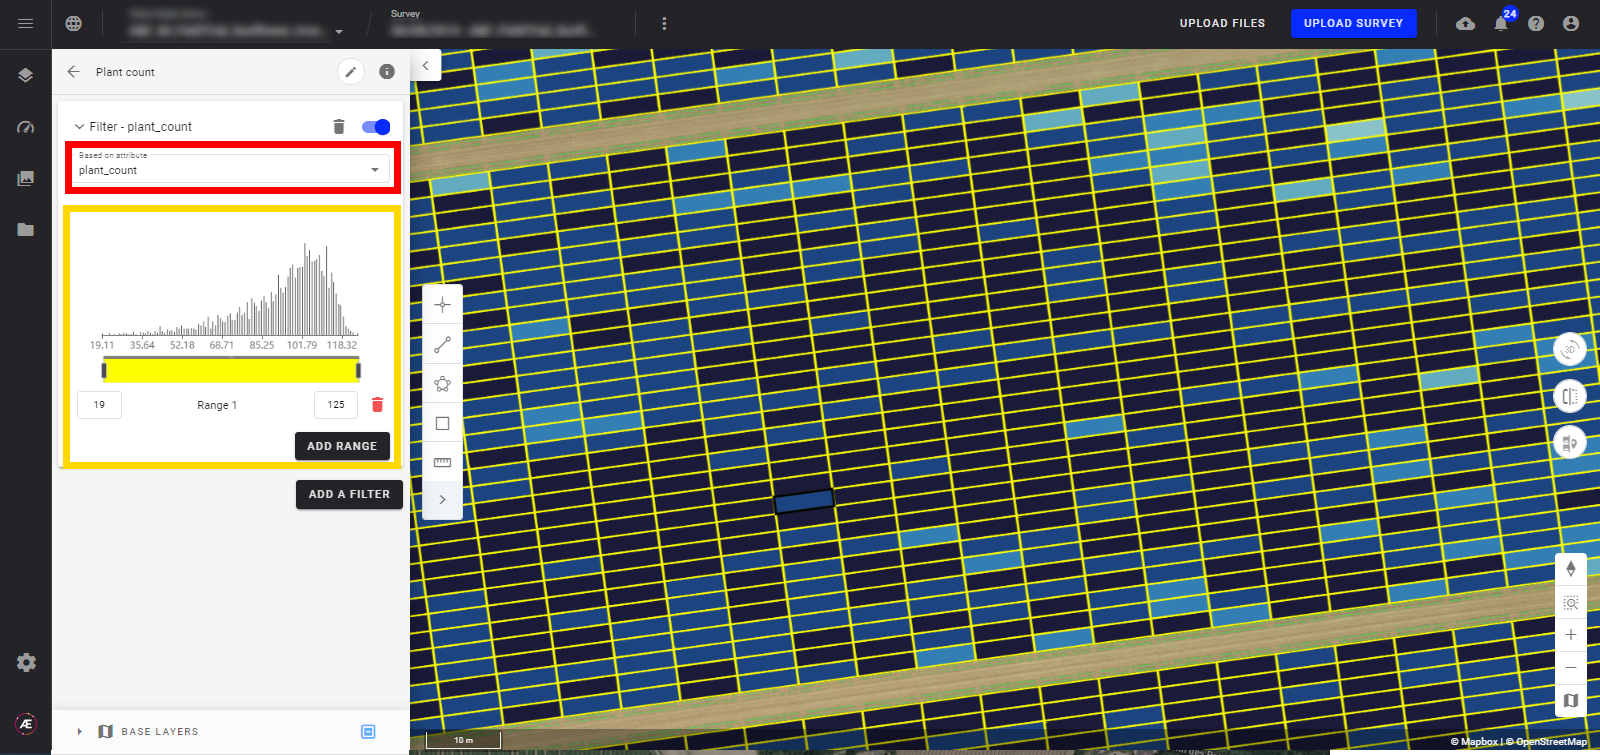
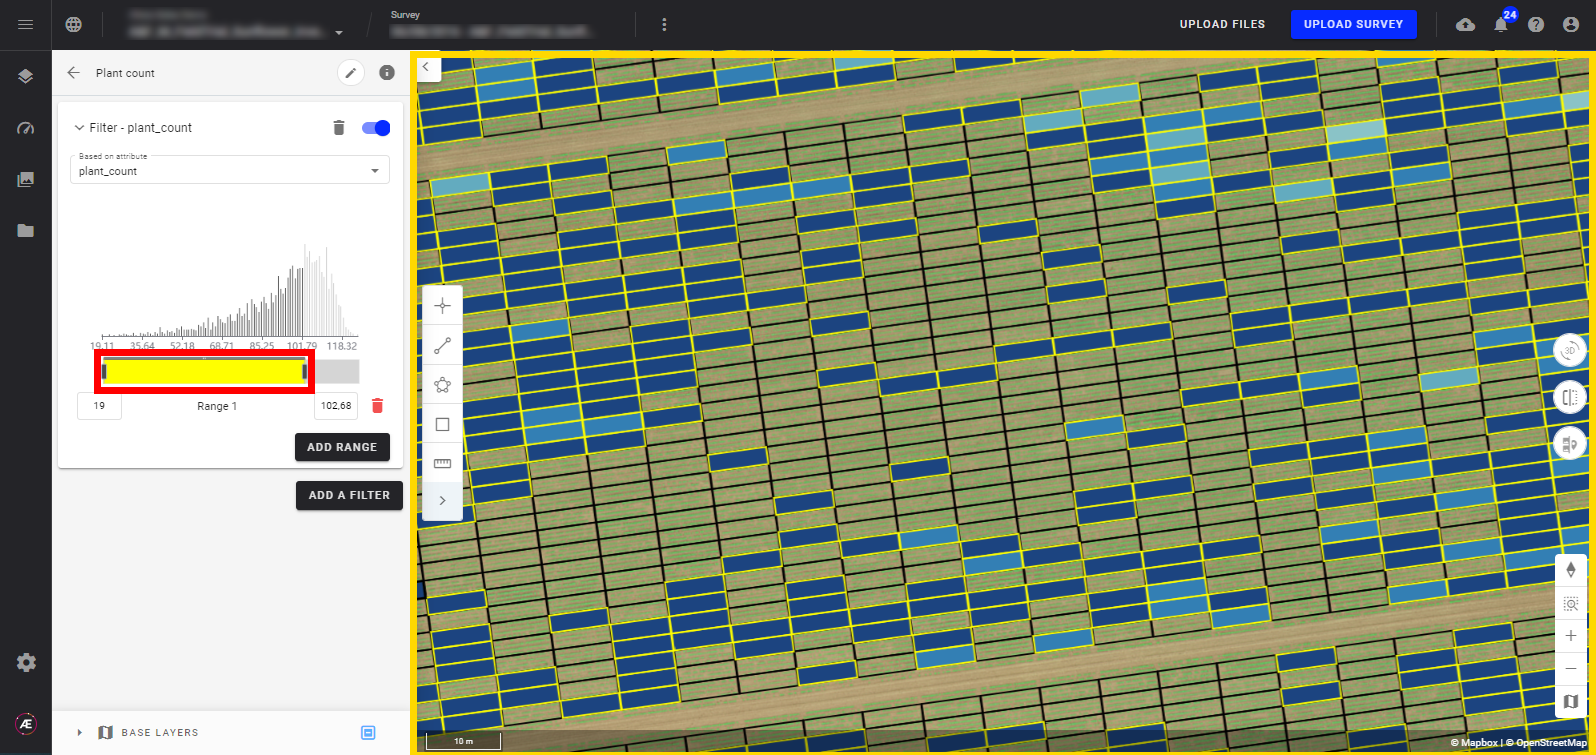
- With the yellow slider bar, you can choose the interval of the values to be filtered and visualized on the map, for the selected attribute.
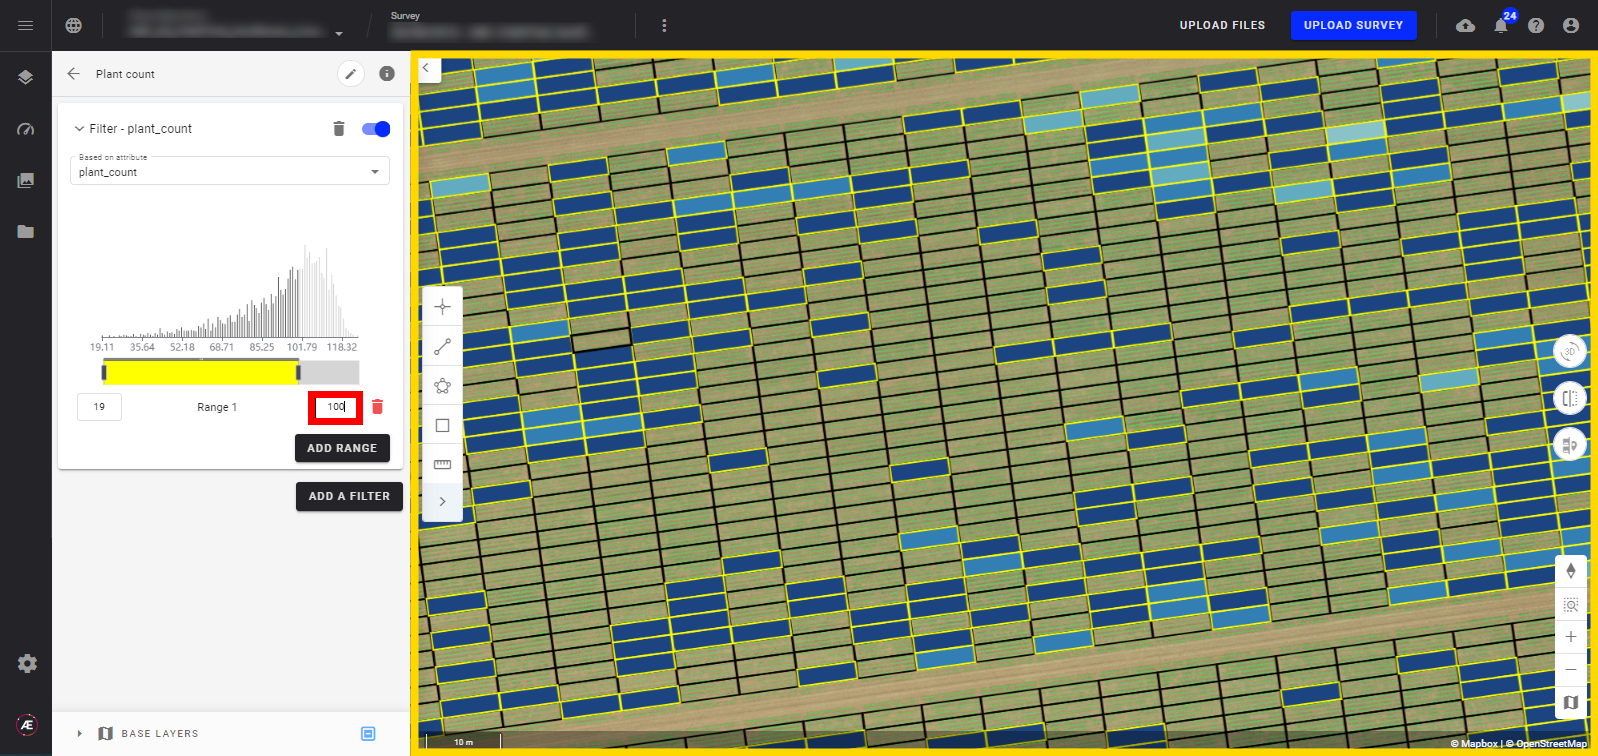
- You can also enter the values in the two white cases on the extreme sides of the histogram.
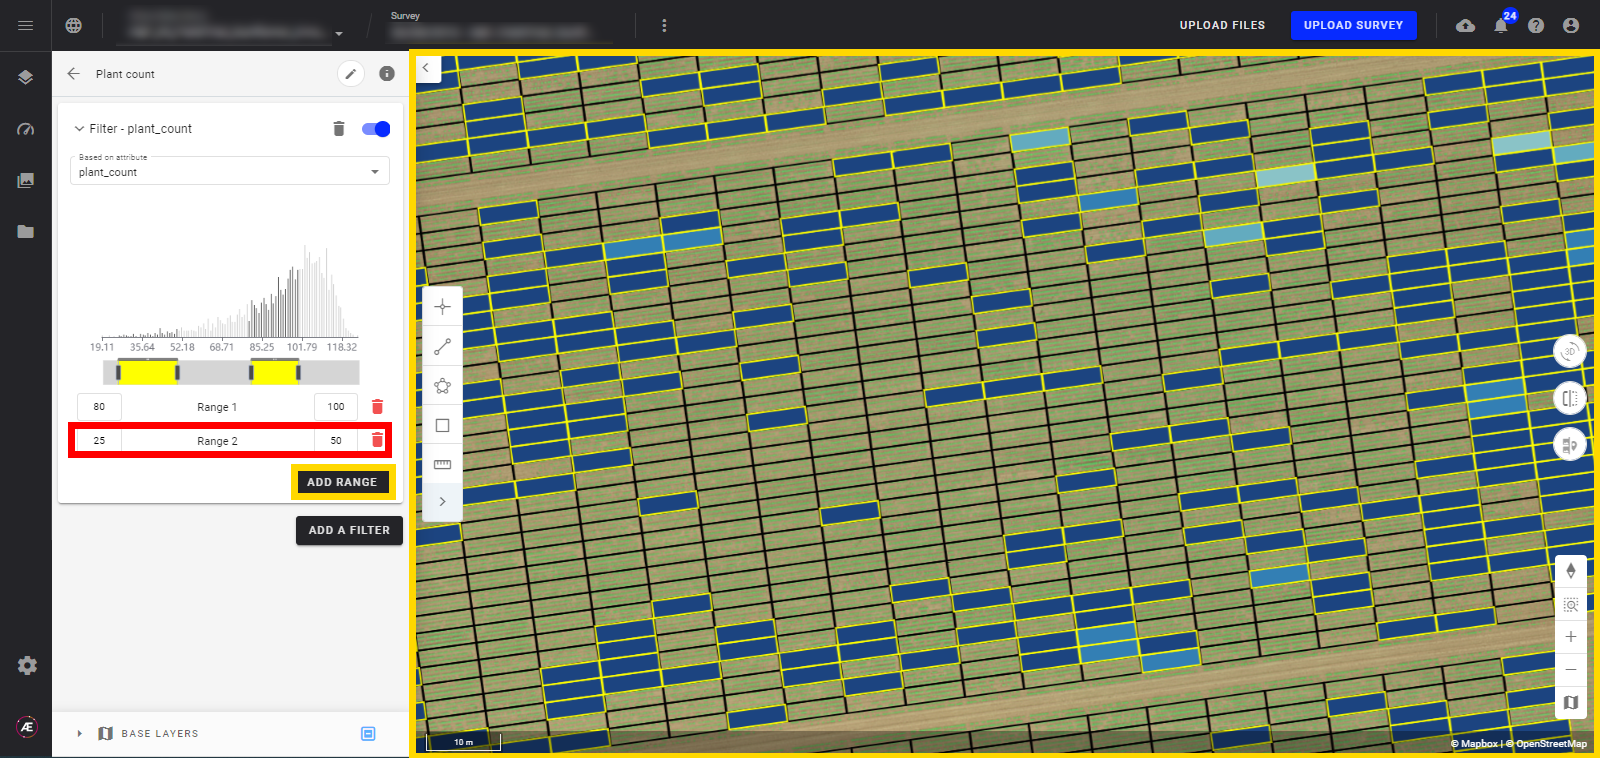
- You can add other filters (range) for this attribute (up to 10 filters):
4. Filter on alphanumerical attributes
- If the attribute has a "string" type (alphanumeric), you can select the values you want to filter.
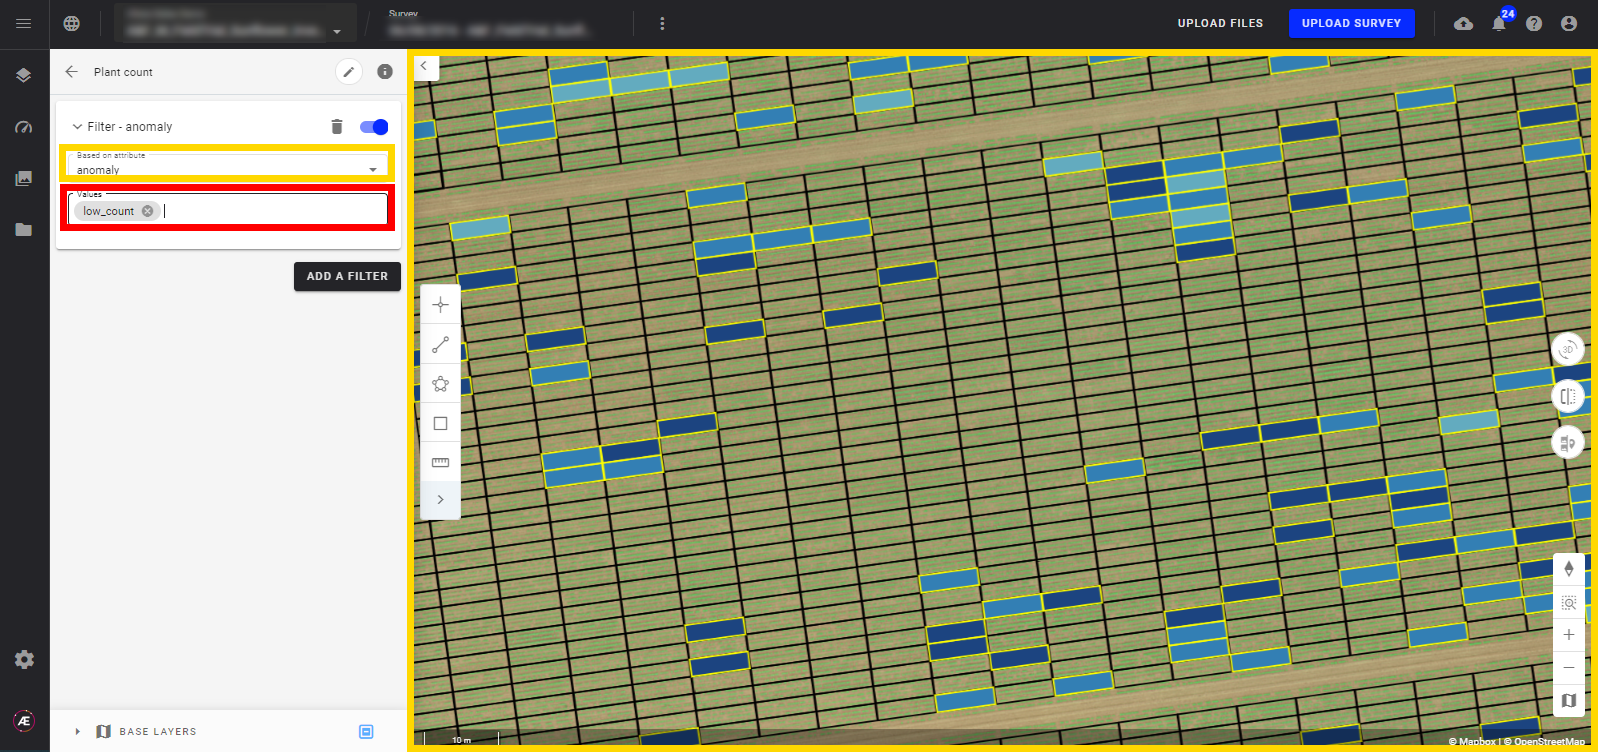
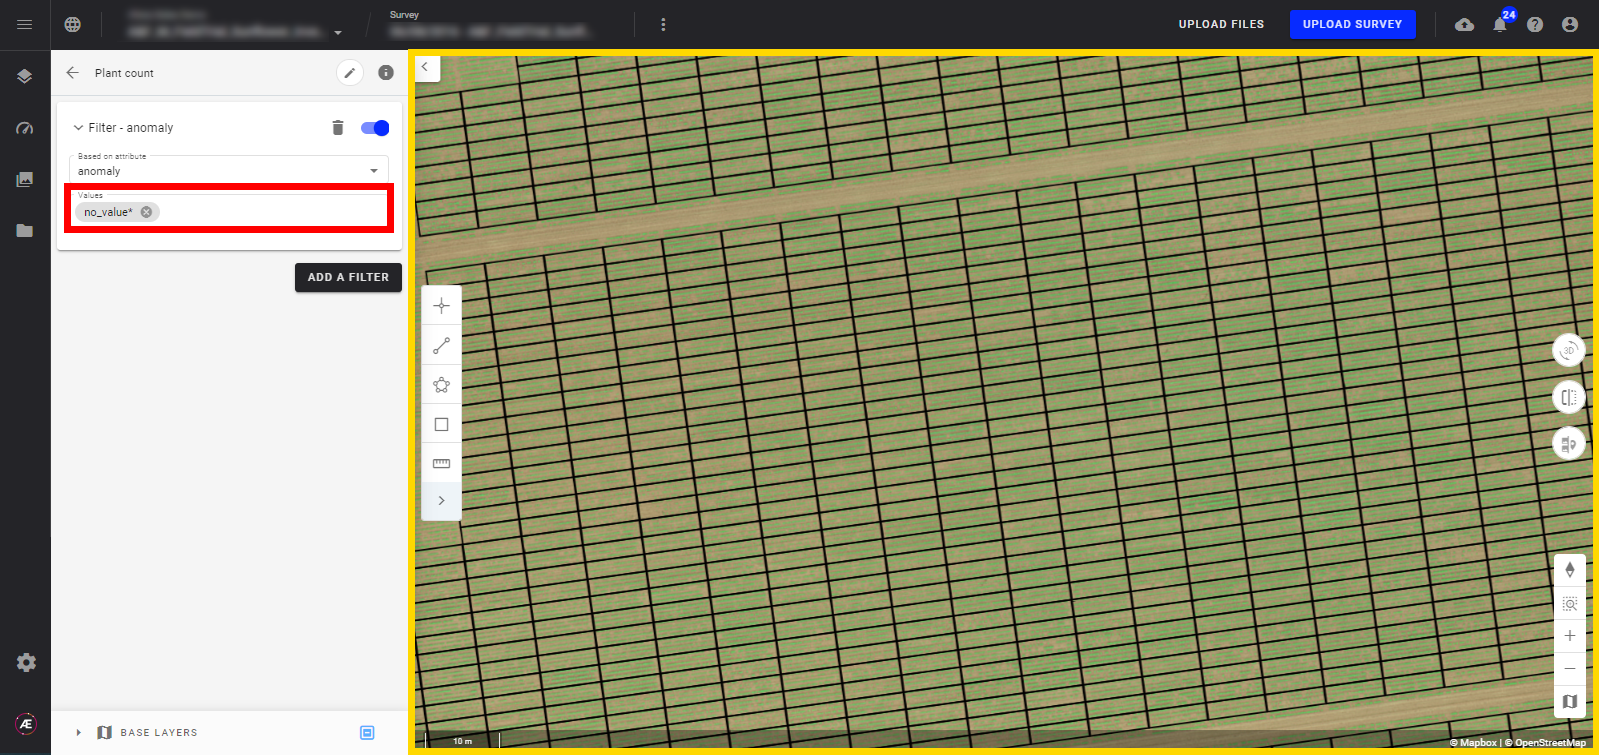
- If you select "no values", the filter will be applied to all the features without any values for the given attribute.
5. Activate/Deactivate a filter
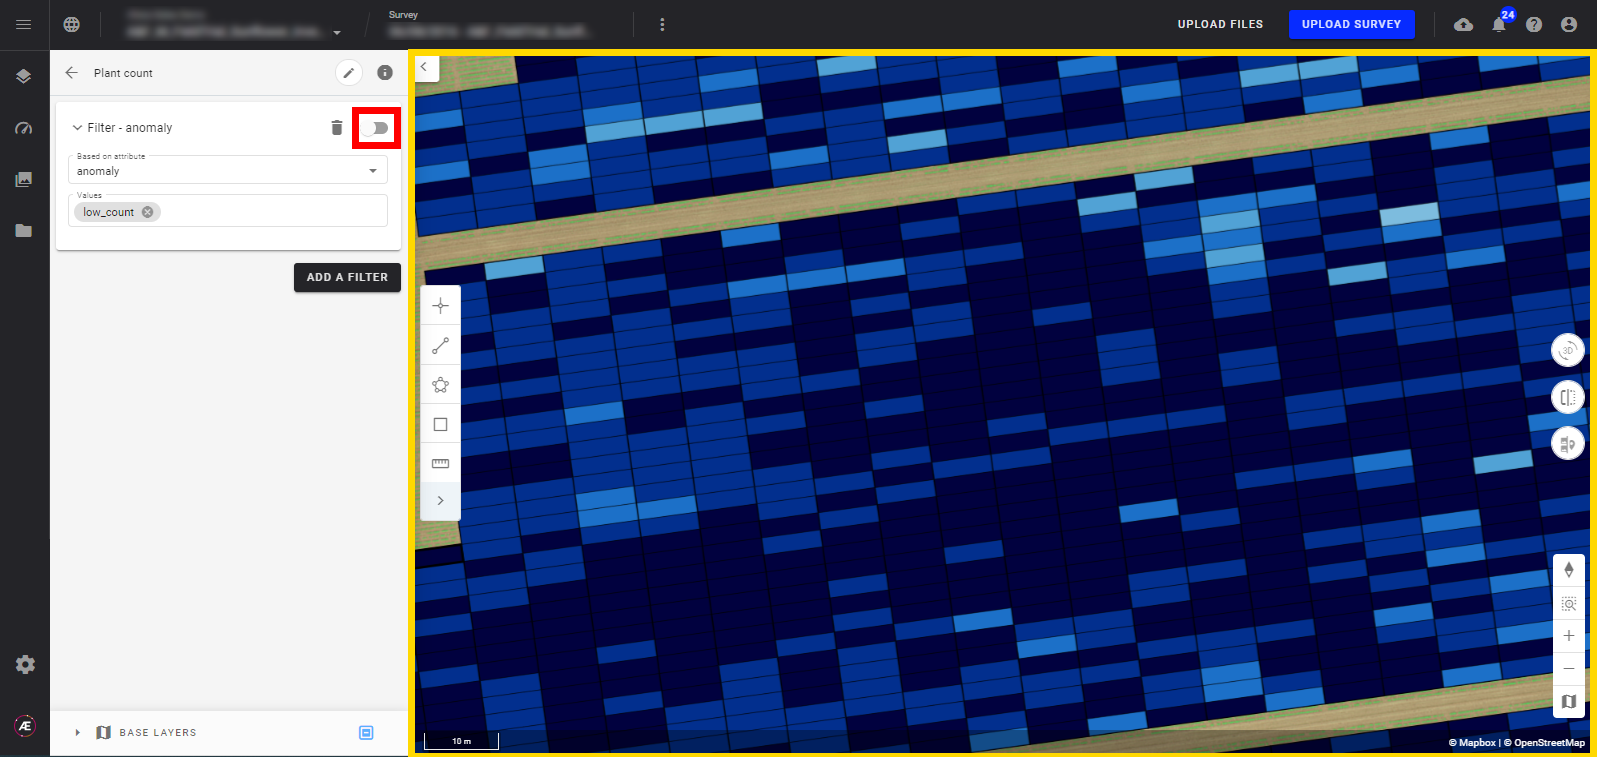
- You can activate or deactivate your filter by clicking on the little slider in the right top corner of the Filter card.
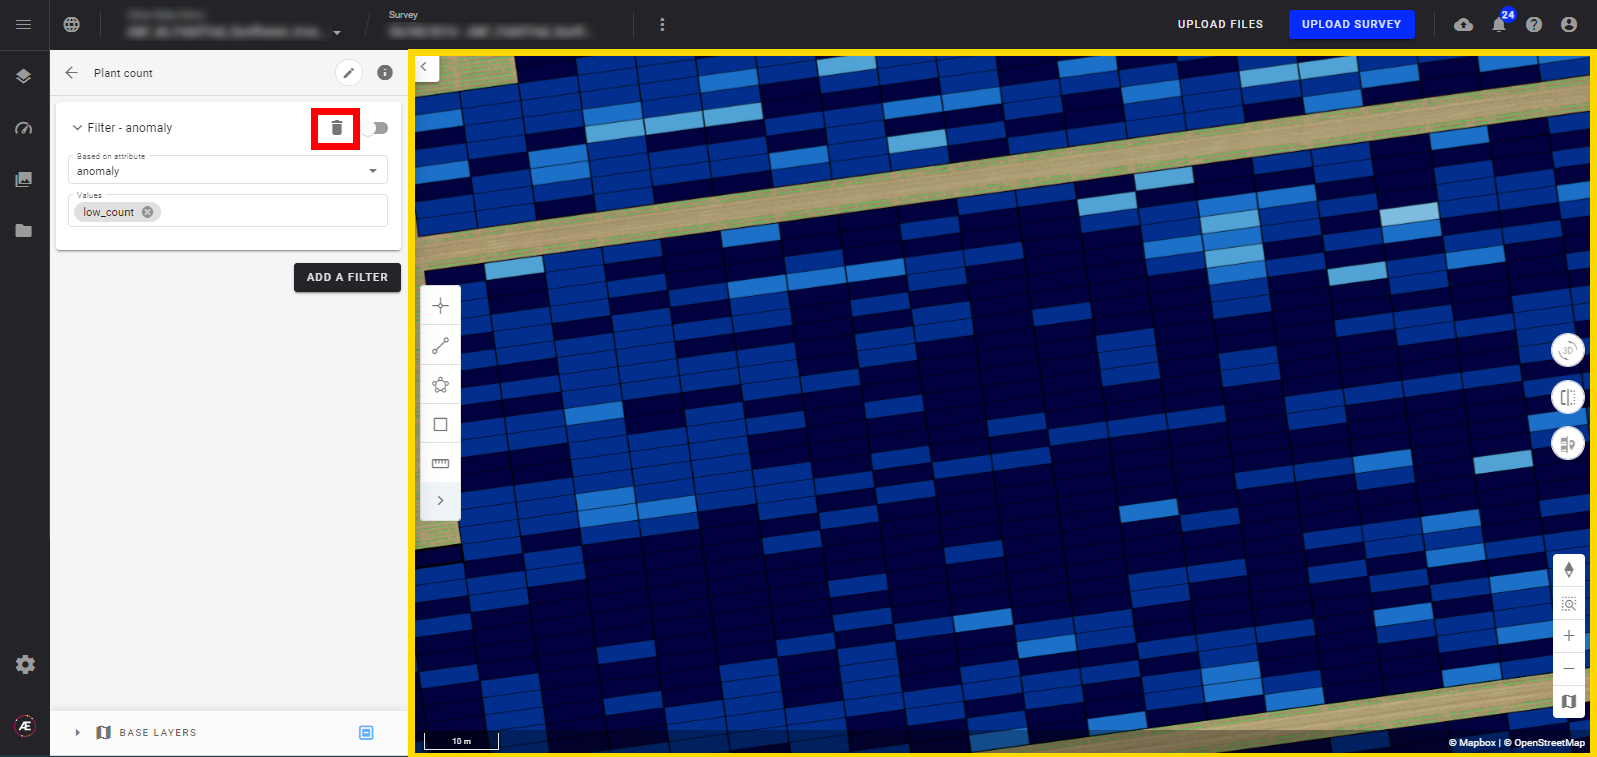
- You can also delete the filter by clicking on the trash bin icon.
6. Second filter activation
If you want to apply a second filter on another attribute you can click on "ADD FILTER" again and a second Filter Card will open. Choose a second attribute to base the second filter on and the ranges you want to filter on.
