Upload and Parse DXF File
1. Description
With Aether's Upload Files function, the User can upload a DXF and leverage the option to parse the file's native styling to create a vector file with multiple colorized layers.
2. Workflow
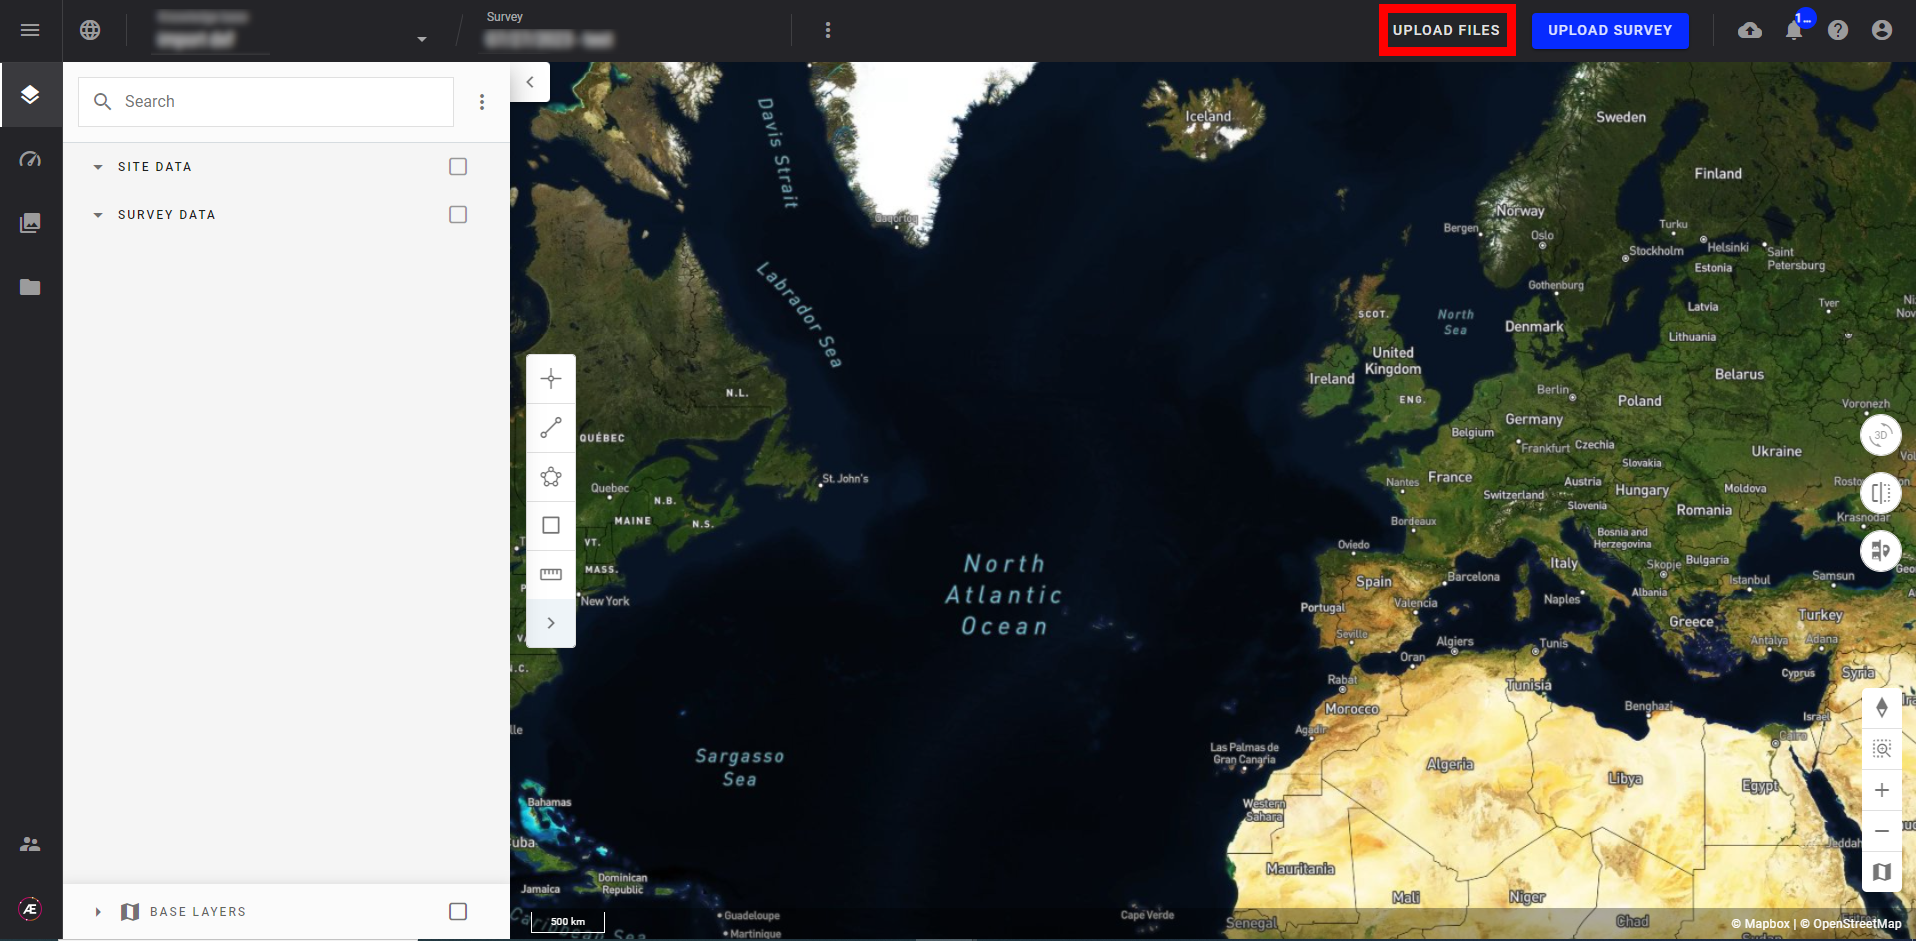
Step 1 - Select a project and click on “UPLOAD FILES”.
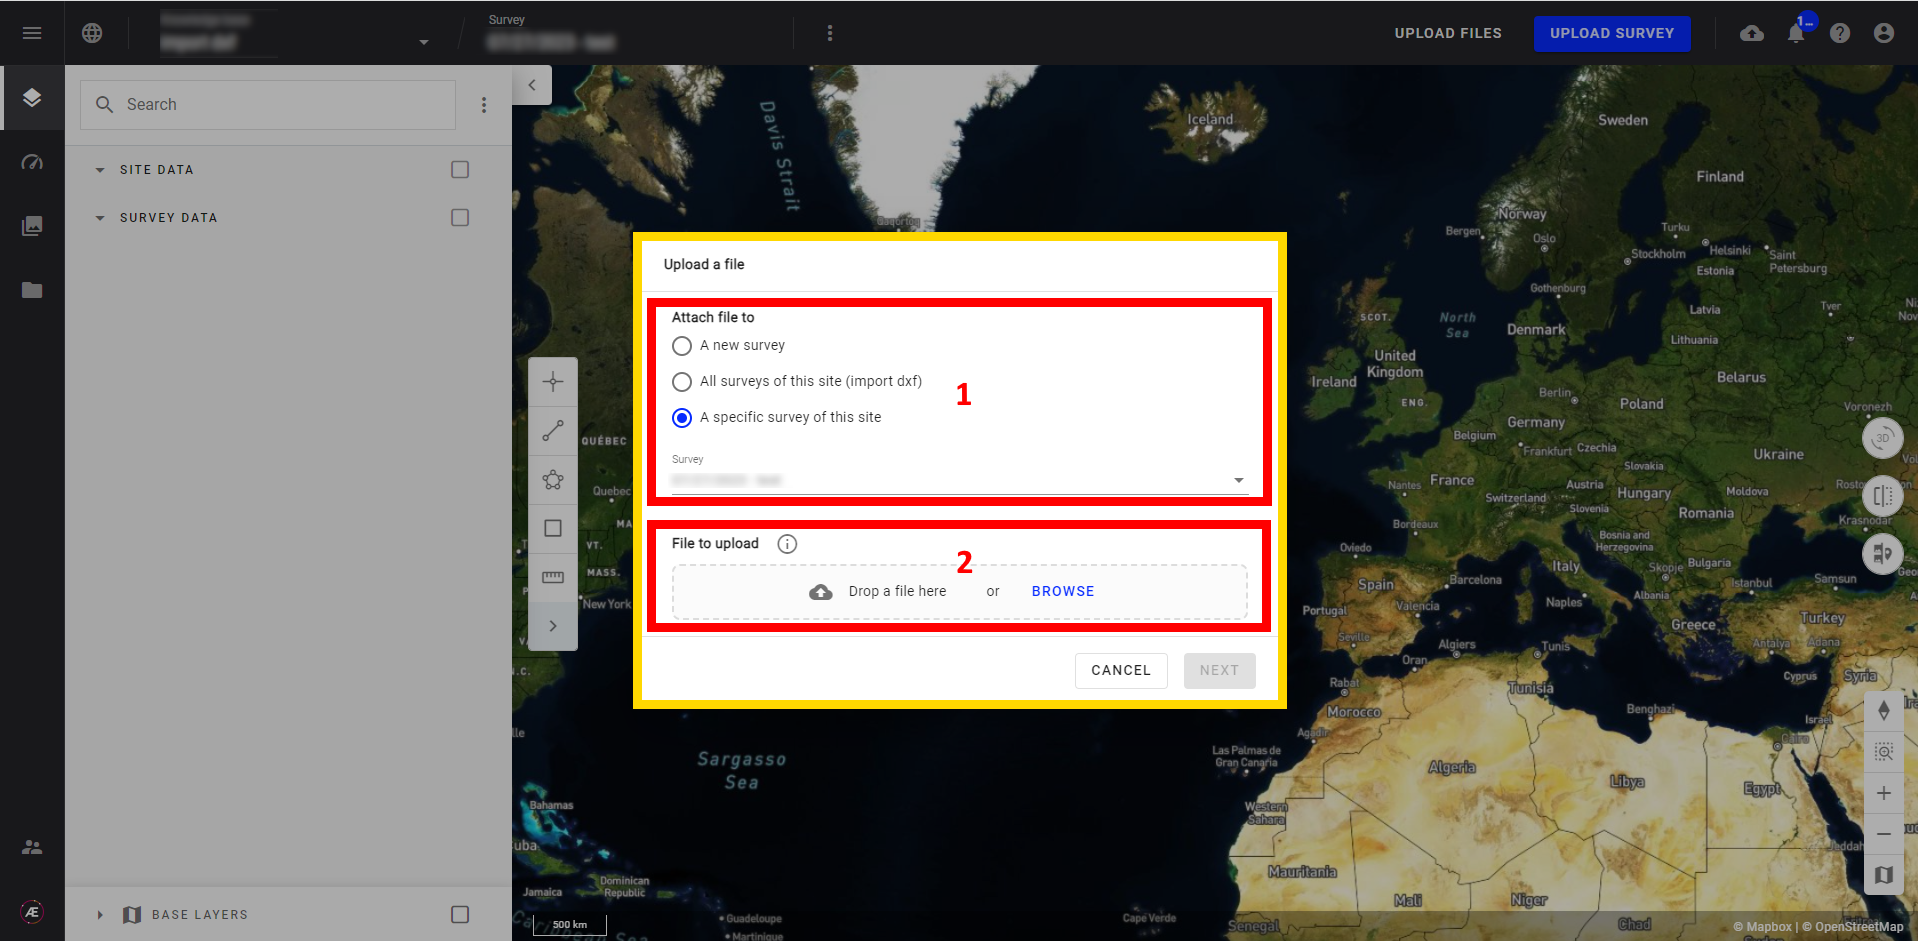
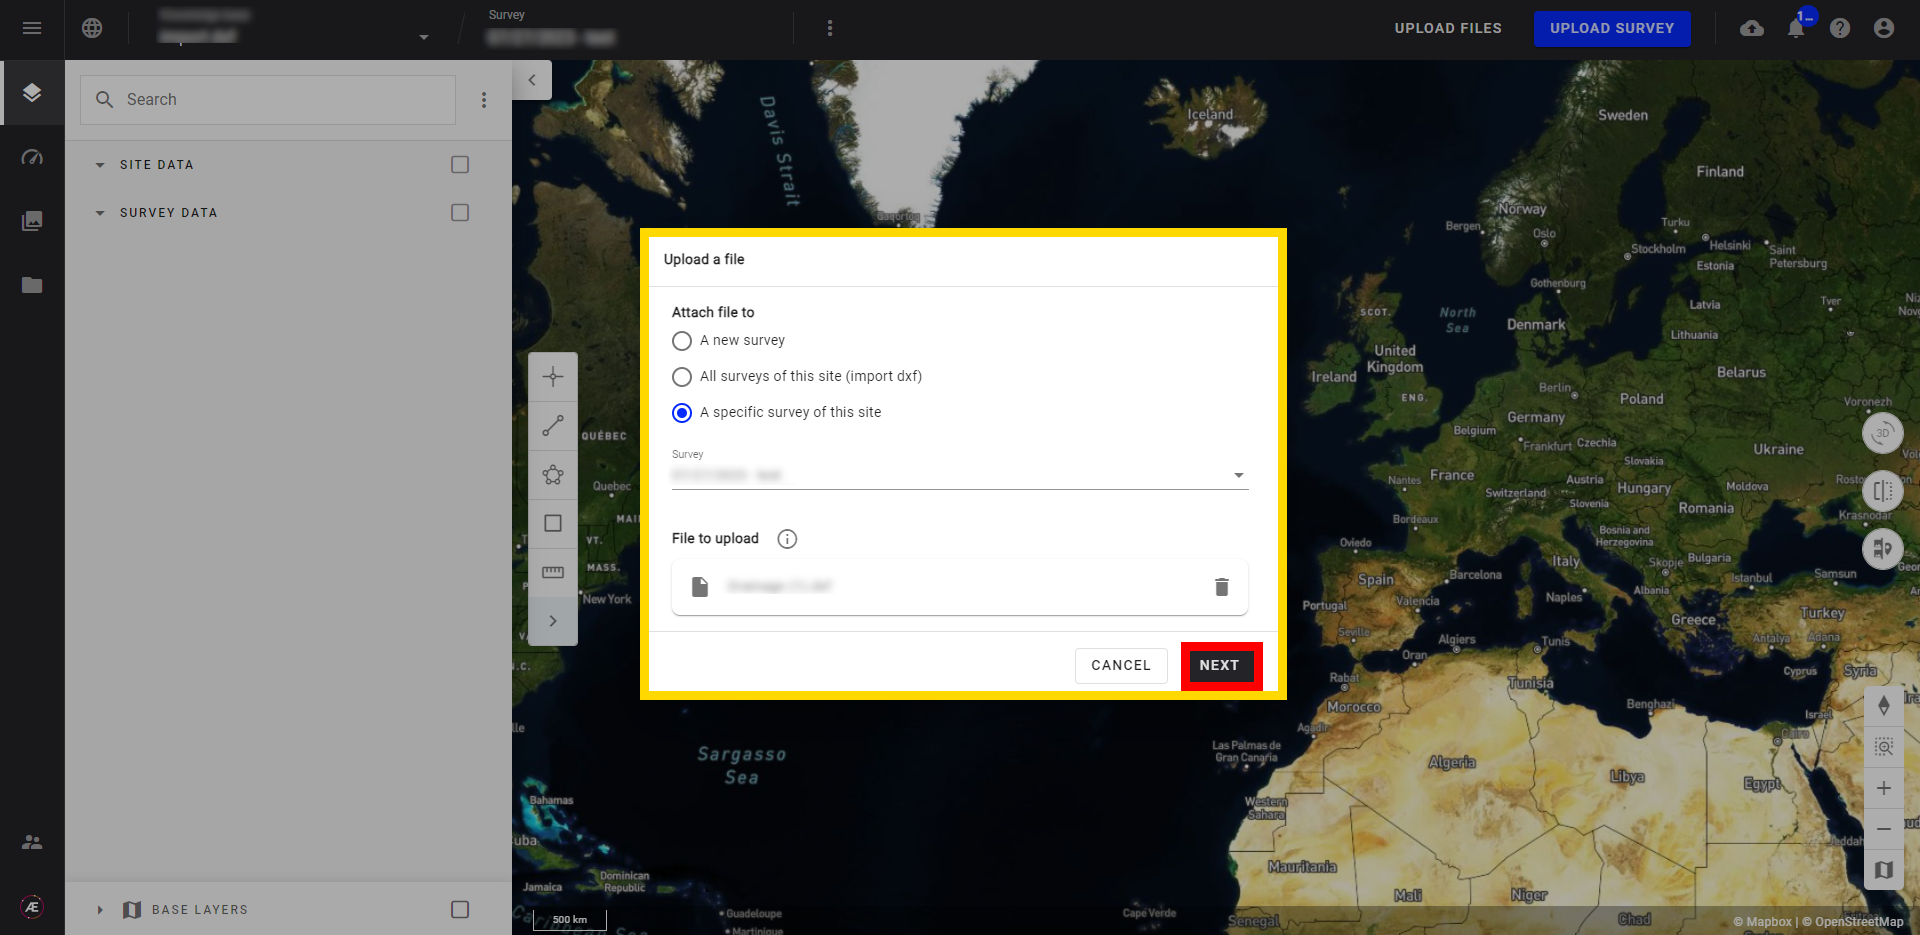
Step 2 - In the pop-up window select the survey (1) to attach the file (or create a new one) and select the DXF file (2) to upload.
Step 3 - Click on “NEXT”.
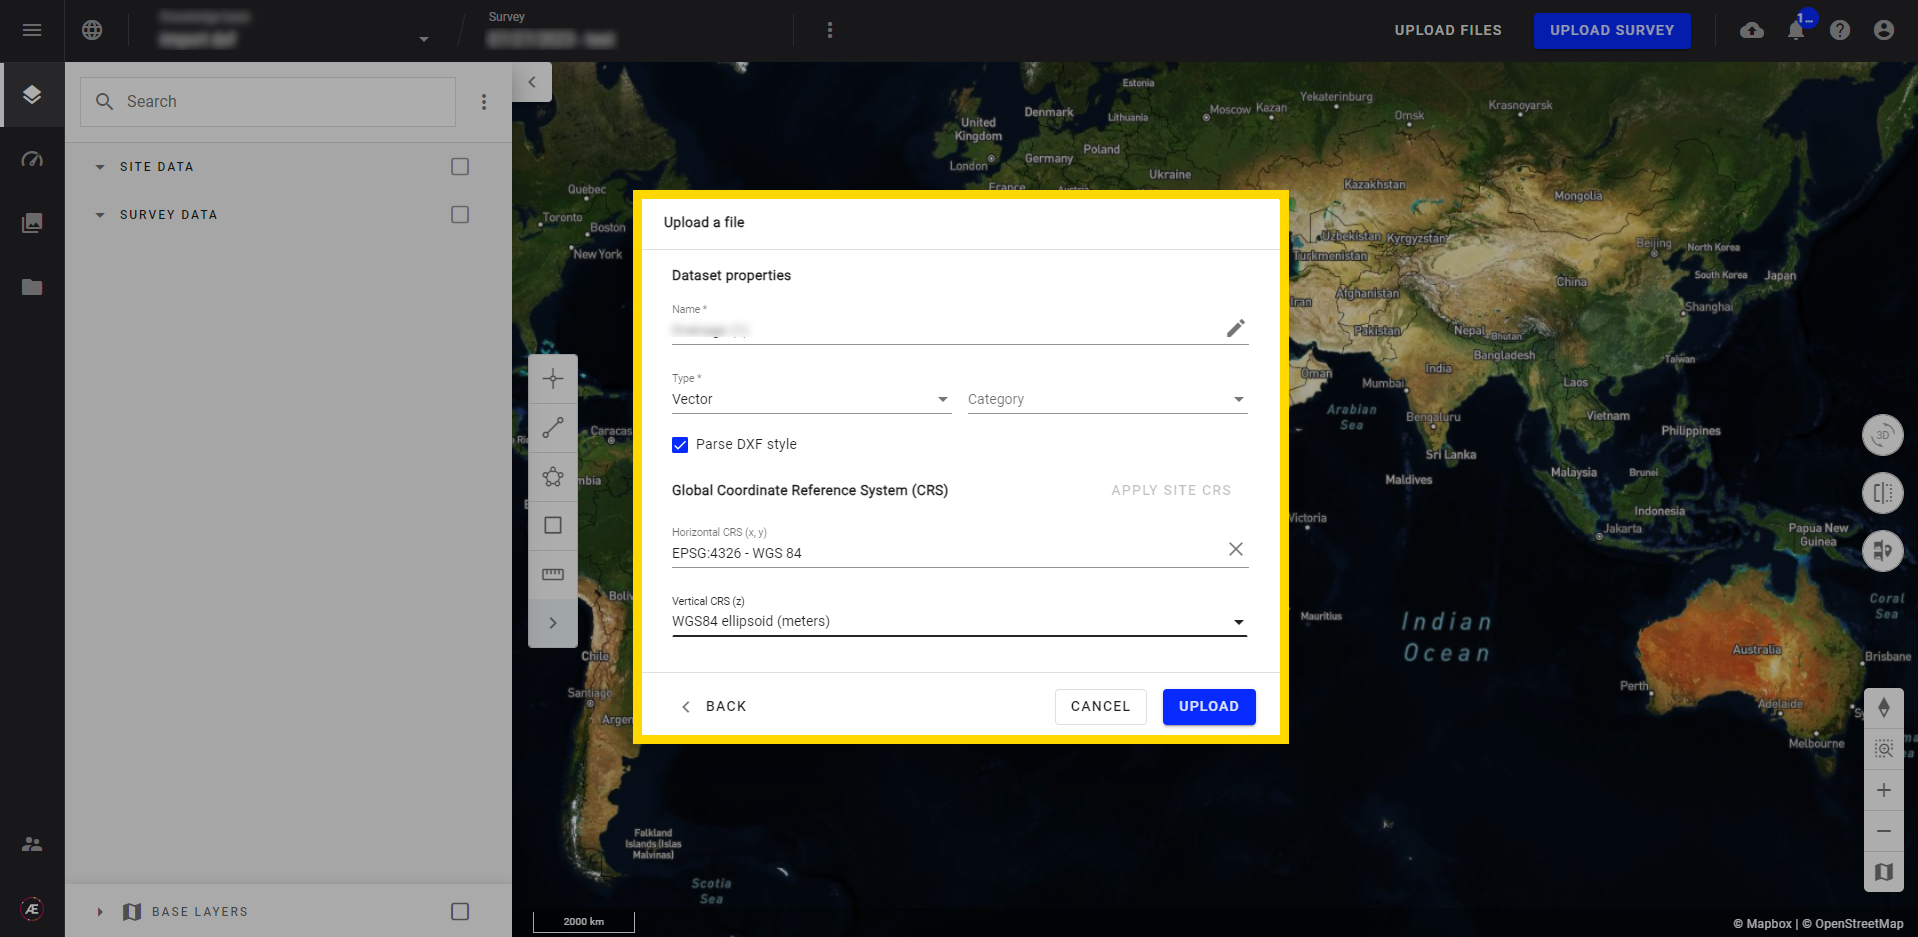
Step 4 - Fill in the form.
-
Dataset properties
- Name: by default it's the name of the DXF file, if necessary rename it
- Type: Vector (already selected by default)
- Category: no need to select any category because no analytics will be associated with the DXF file.
- Parse DXF style: tick the box to obtain DXF style.
-
Global coordinate Reference (CRS): see Coordinate Reference Systems (CRS)
- Horizontal CRS (x,y)
- Vertical CRS (z)
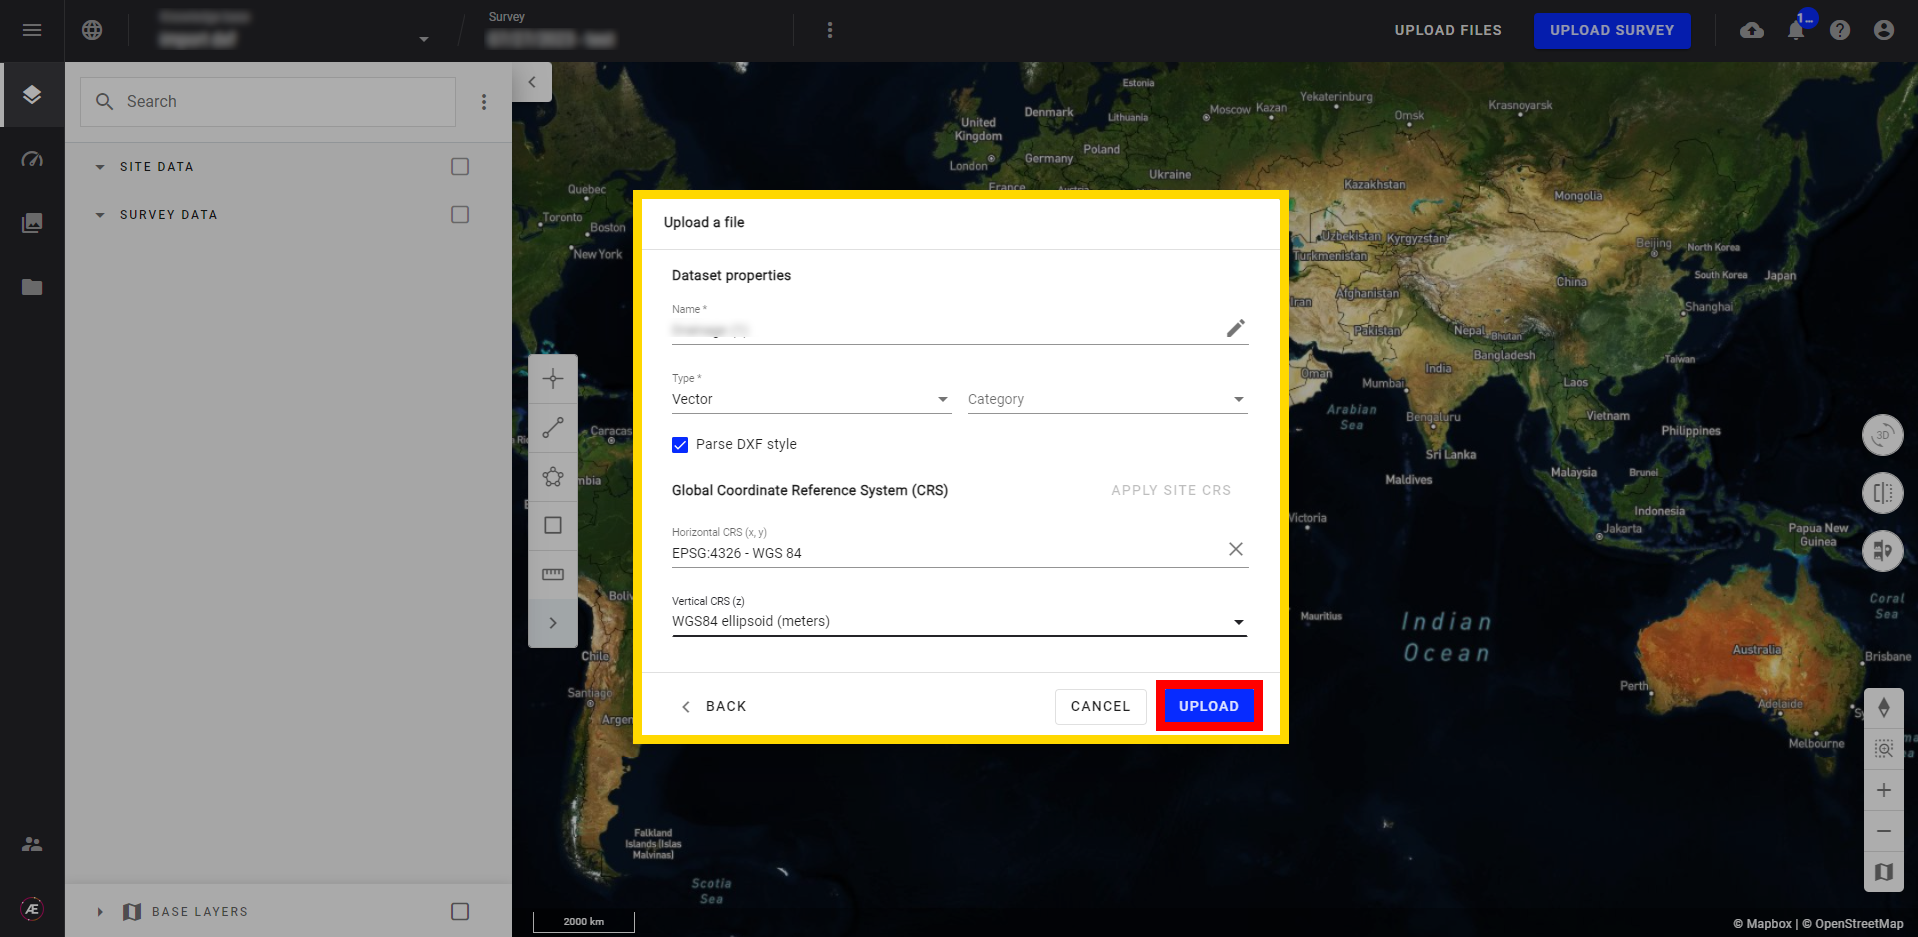
Step 5 - Click on “UPLOAD”.
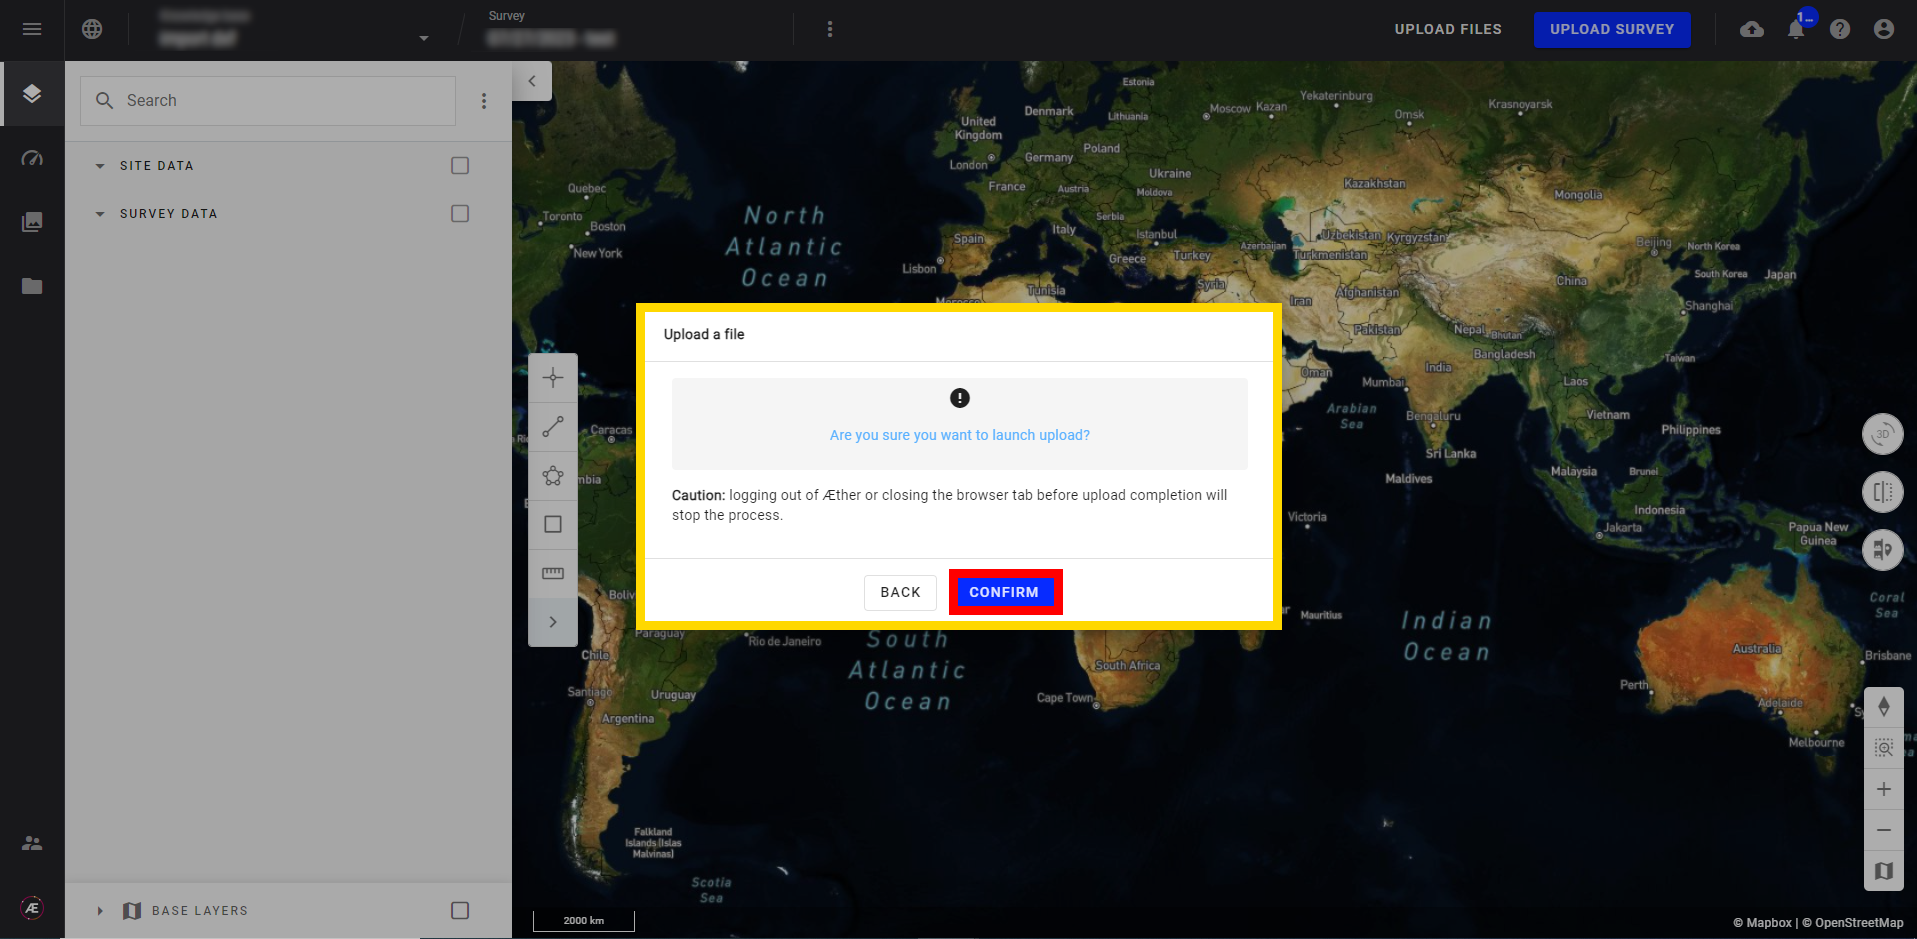
Step 6 - Click on "CONFIRM".
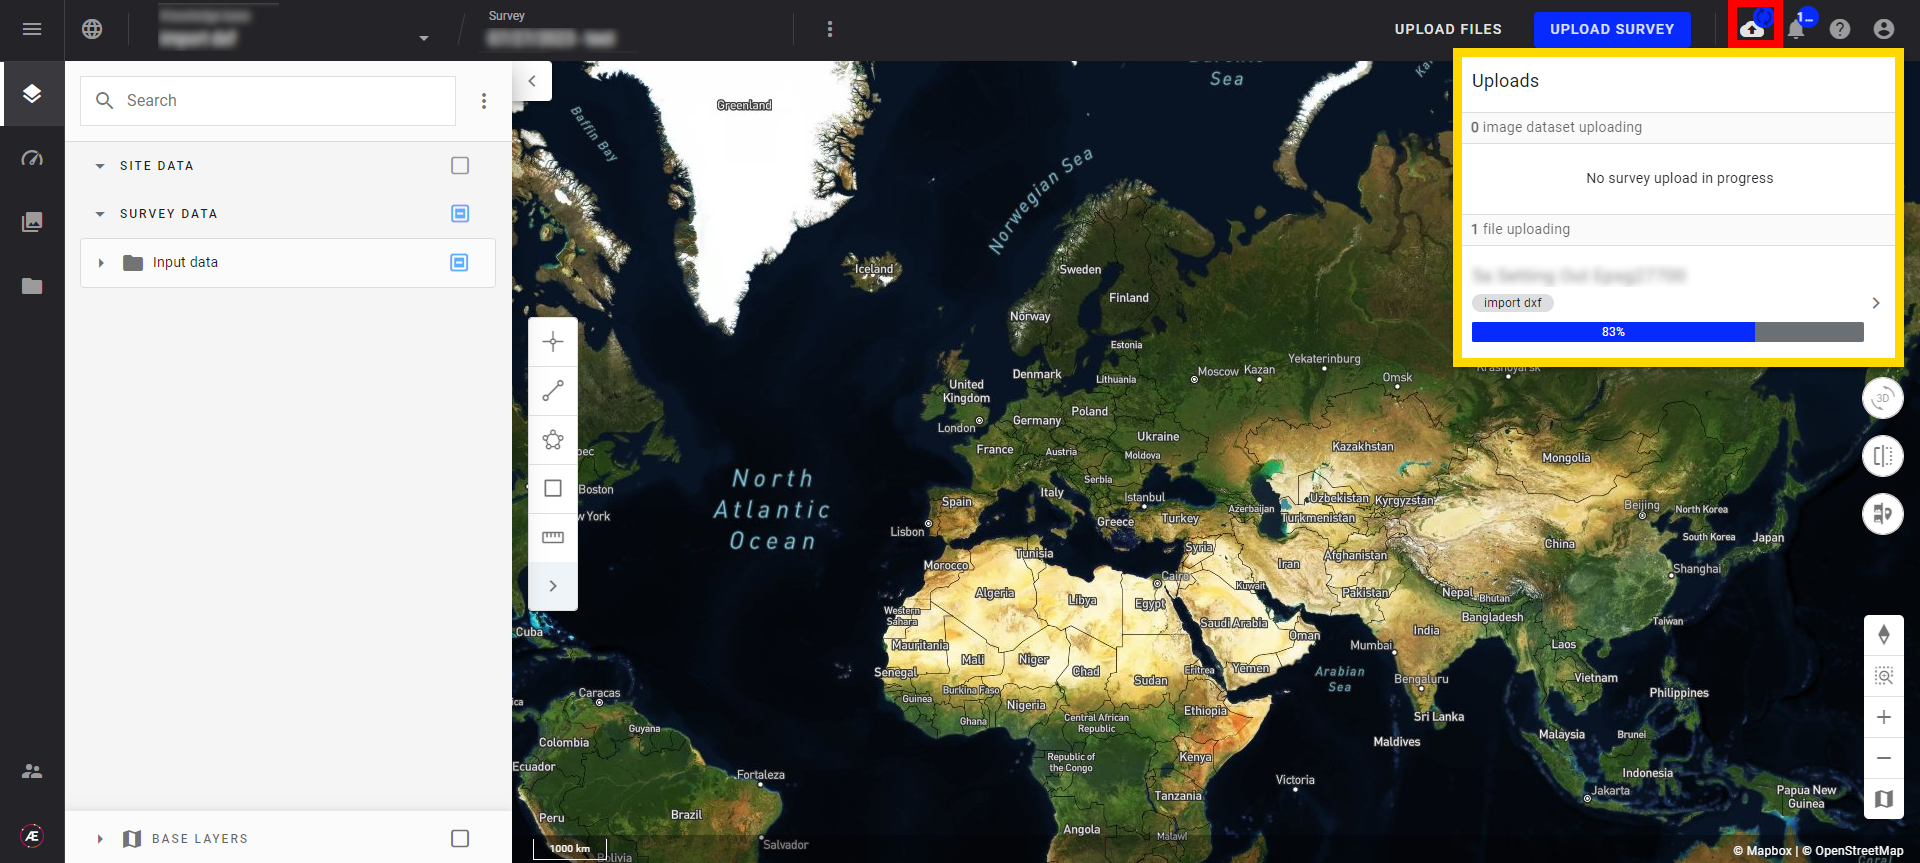
Step 7 - Uploading in progress.
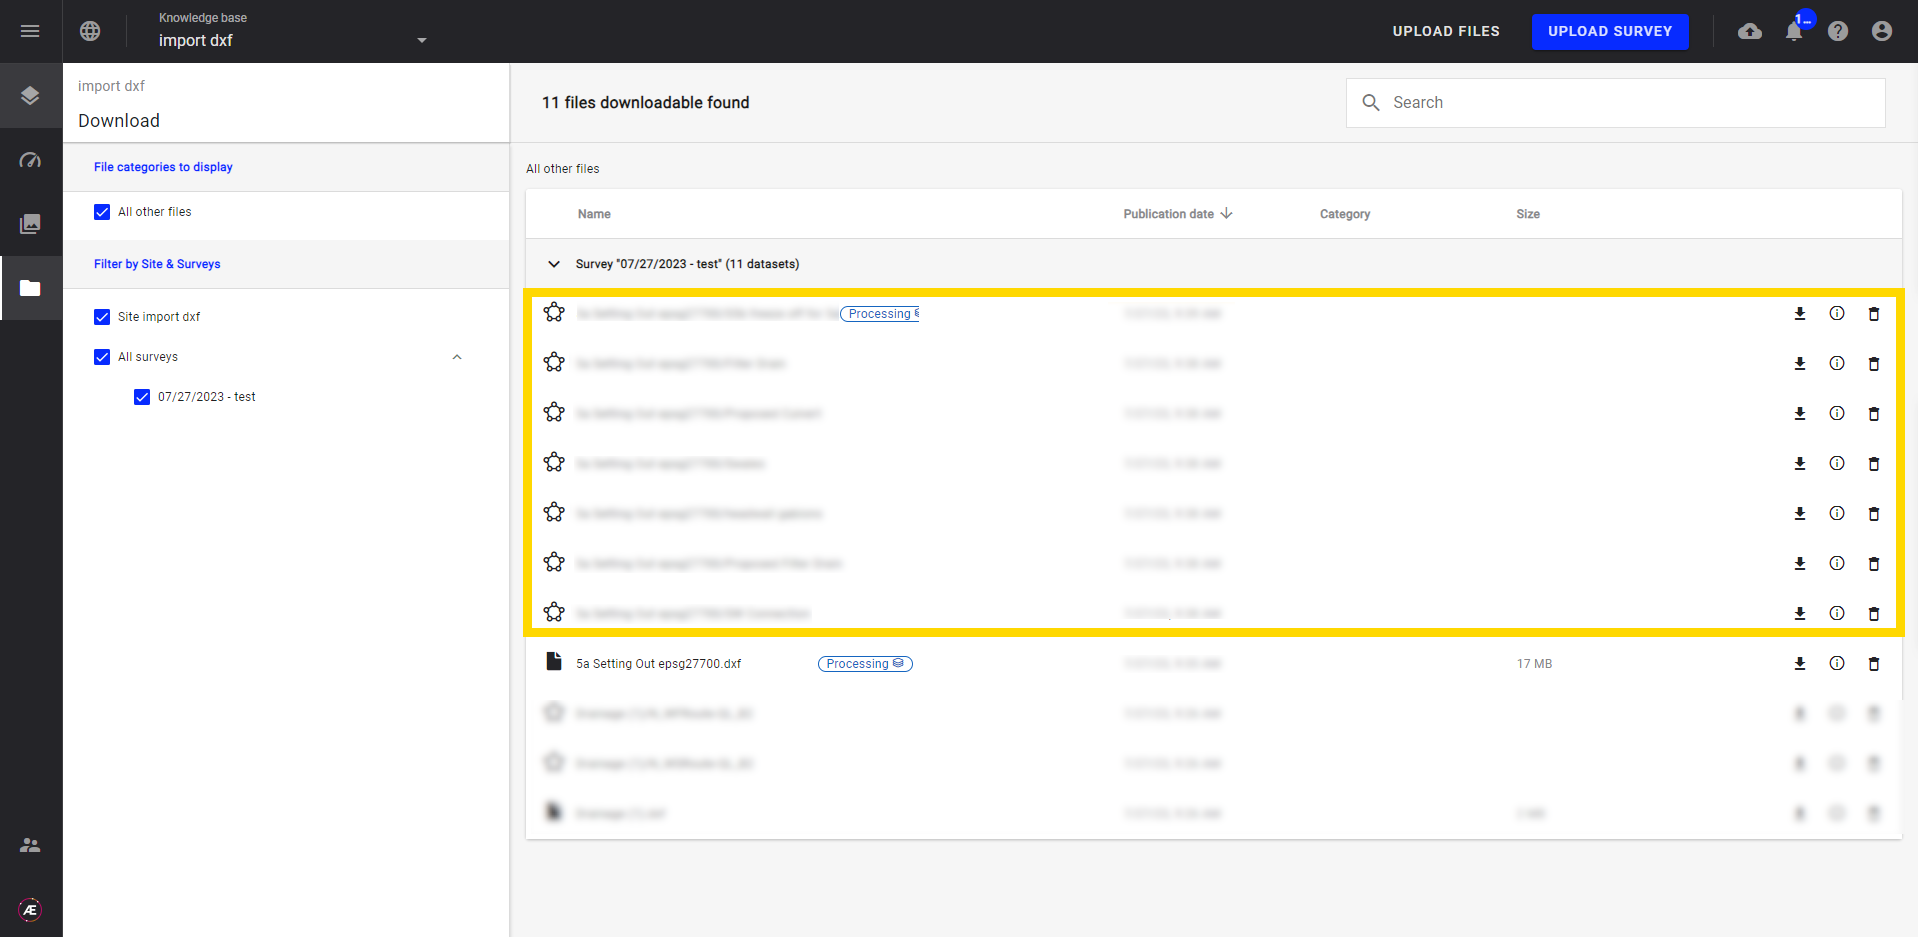
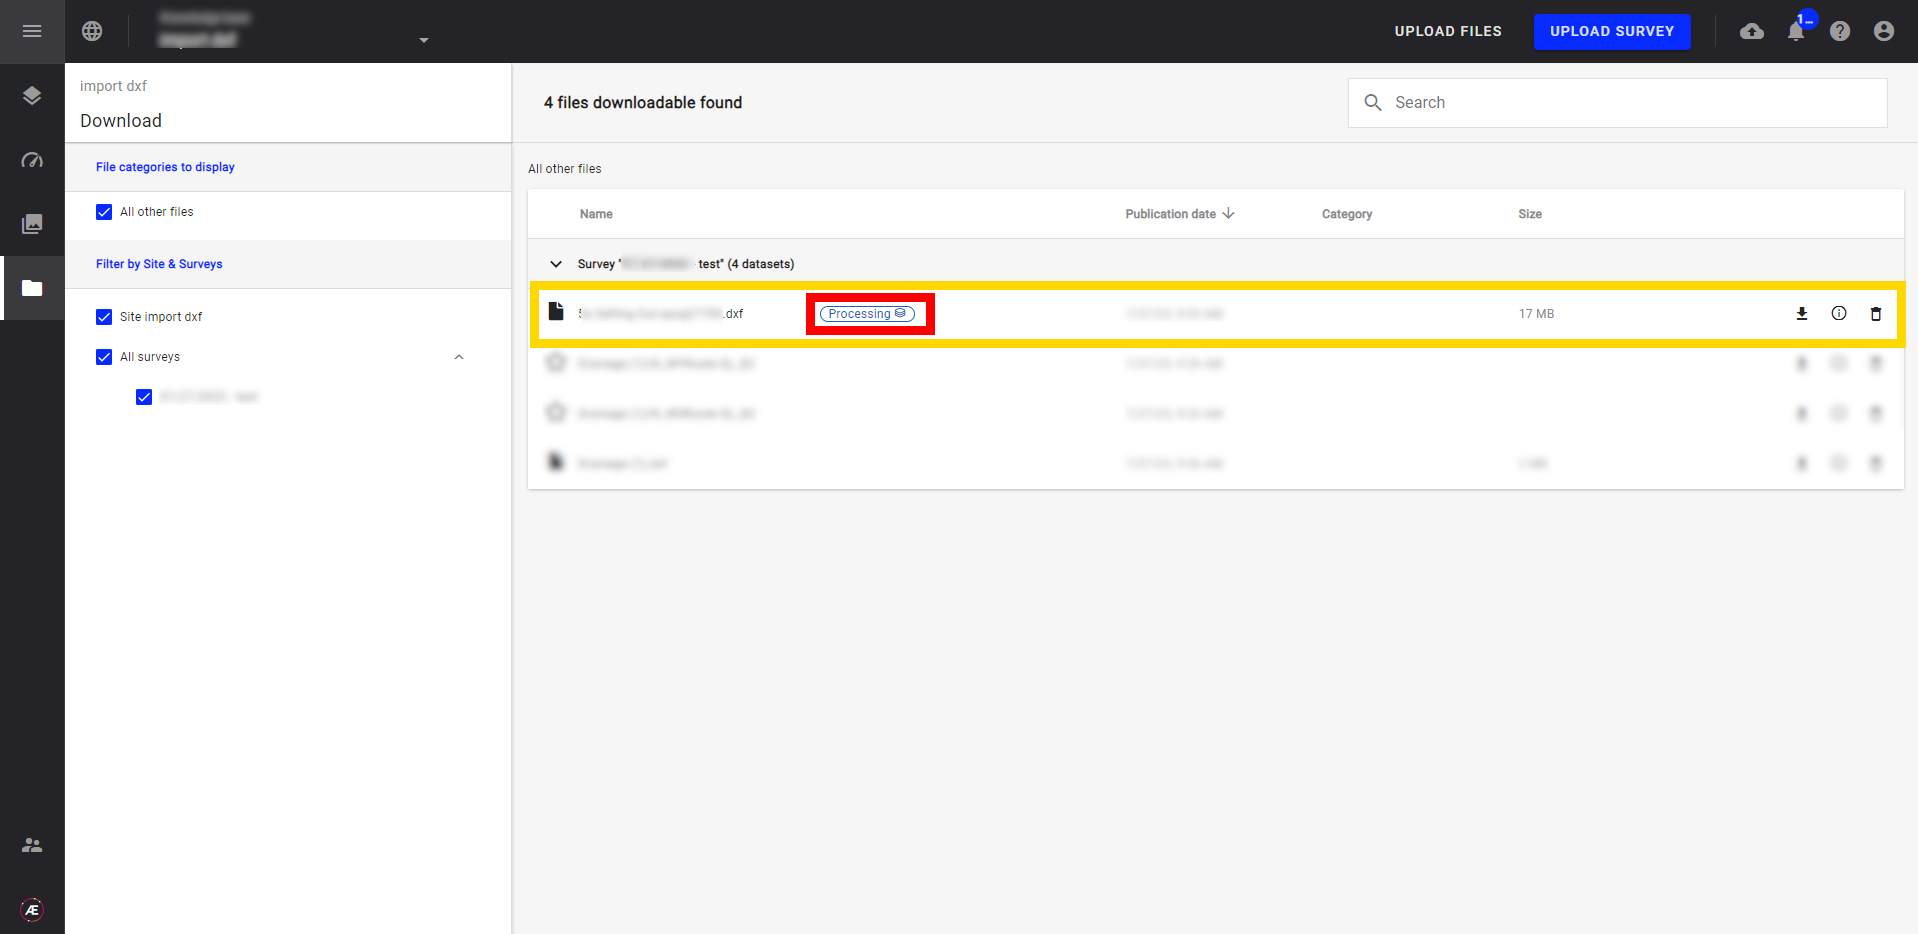
Step 8 - In the Download tab at the DXF file level, the “Processing” flag shows that the treatment is in progress.
3. Results
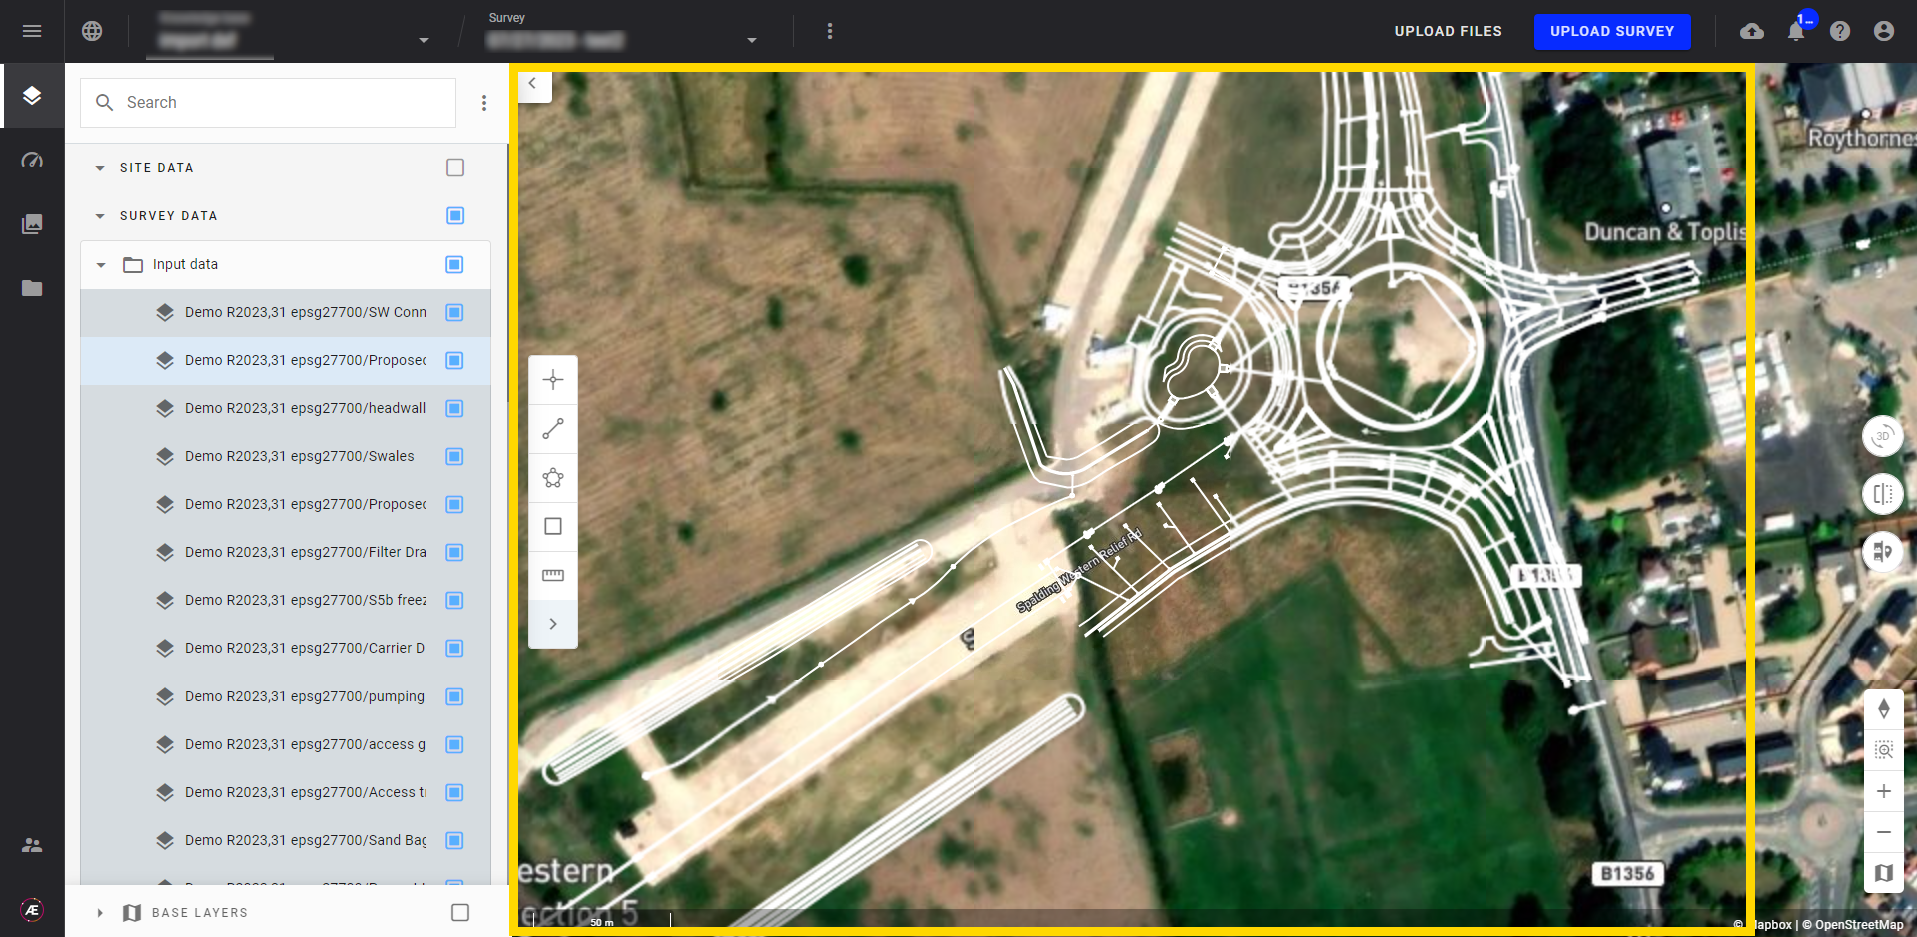
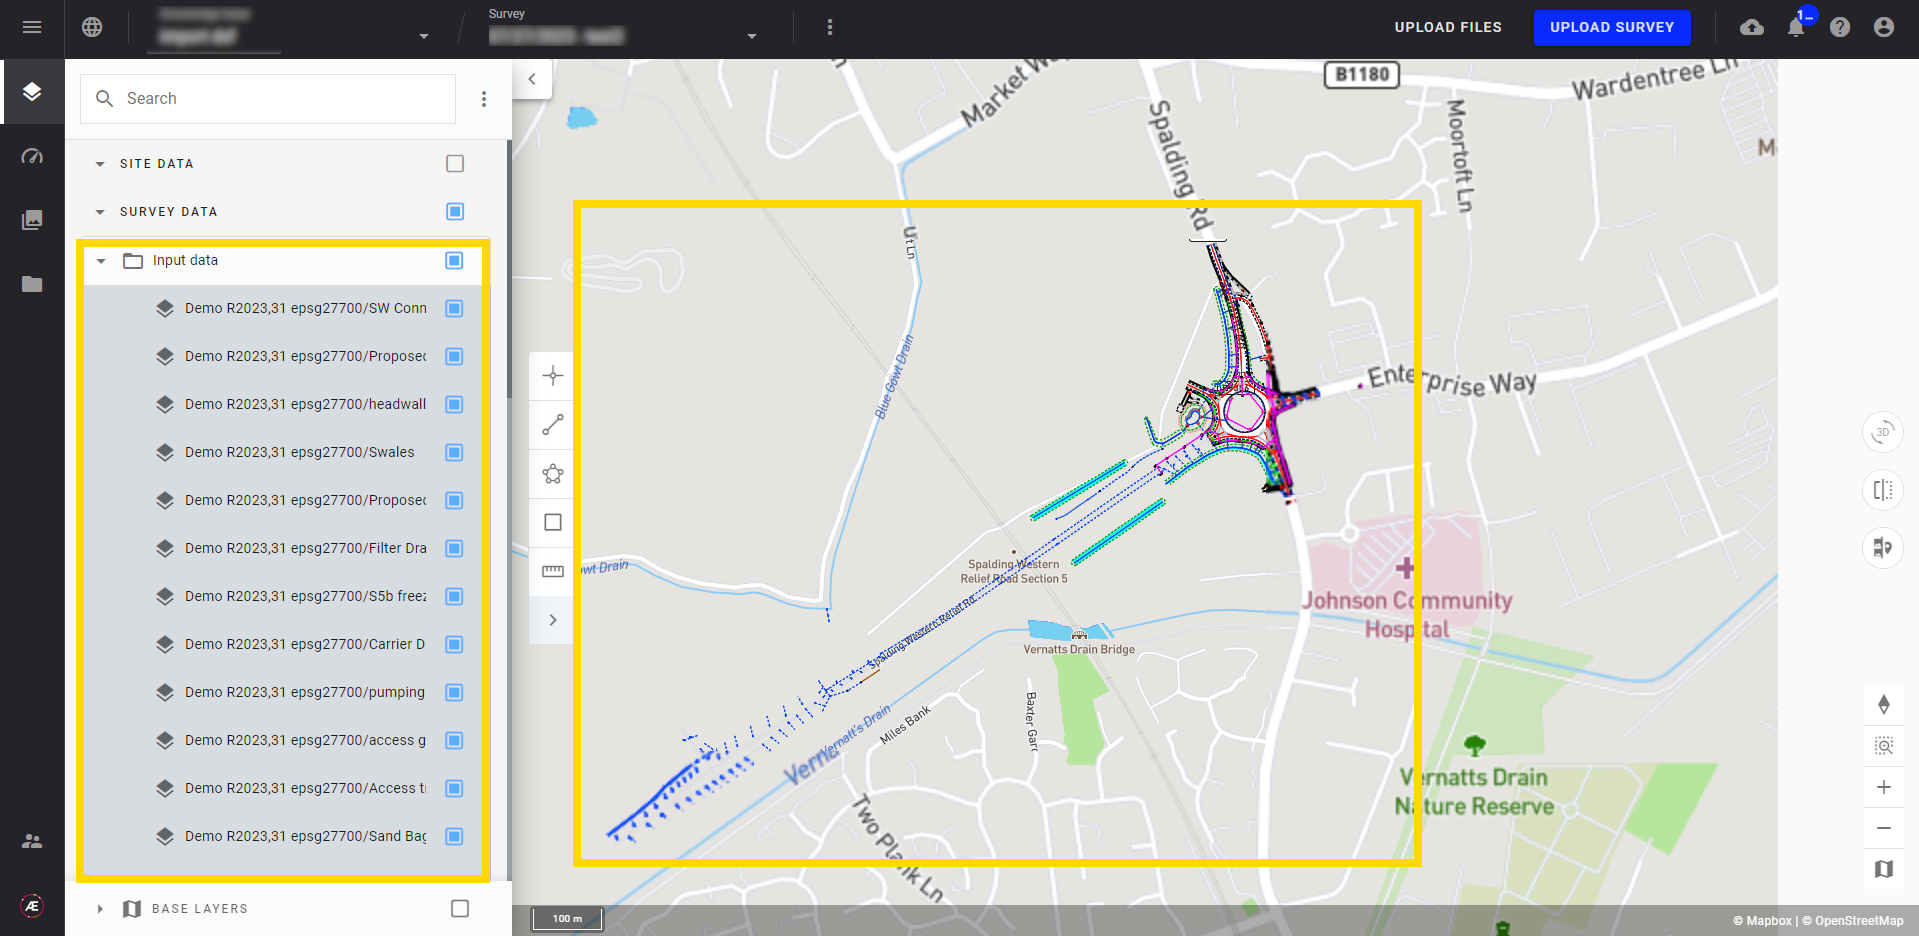
In the Project menu in the category “Input Data”, all layers of the DXF files are available.
There is only one color per layer.
In this case, there is no “parseDXF style” option during the upload.
